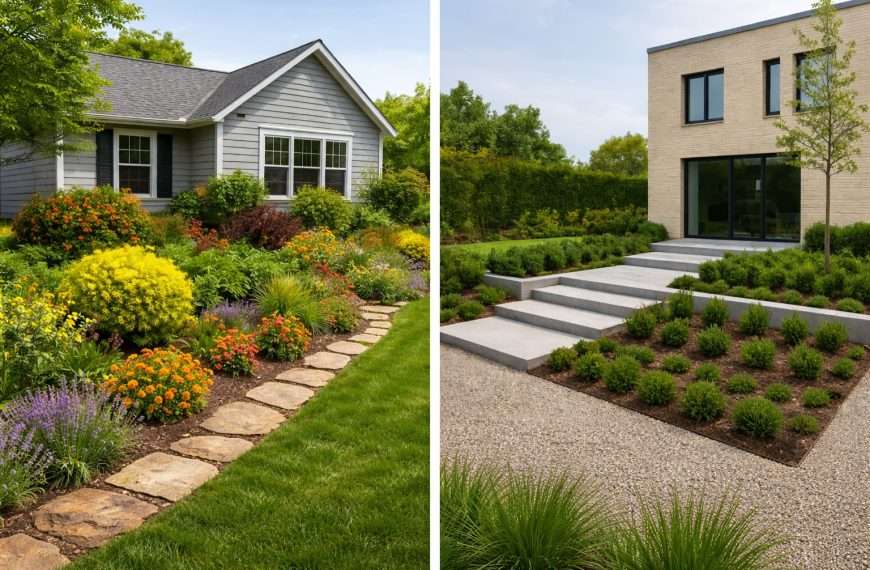
Most front yards in Dallas look completely different after dark, and not in a good way. Mature live oaks, stone facades, and carefully designed beds disappear the moment the sun sets. That’s a missed opportunity, especially in neighborhoods like Preston Hollow and University Park where curb appeal carries real weight. The right lighting changes that entirely, turning a flat, dark front yard into something with depth, warmth, and presence.
If you’ve been searching for front yard lighting ideas Dallas homes actually benefit from, this article skips the generic advice. These are five high-end lighting approaches we use at Greenform Landscapes, techniques like uplighting, moonlighting, and pathway washes that work specifically with the architecture and plant material common across North Texas properties. Each one is designed to elevate what’s already there rather than compete with it.
Whether you’re planning a full landscape lighting installation or just trying to figure out where to start, these ideas will give you a clear picture of what’s possible and what actually looks good long-term.
1. Work with a lighting designer
Before you commit to any fixtures or pick a single bulb, working with a professional lighting designer saves you from expensive corrections later. A designer evaluates your property as a whole, identifies what’s worth lighting, and builds a plan before anything gets installed. That process separates high-end results from setups that look random or overdone.
Define what “high-end” means for your front yard
High-end lighting isn’t about more fixtures or higher wattage. It’s about precision: the right amount of light in the right place, with a coherent visual language across the property. A designer helps you define that standard for your specific home before the project starts.
Build a layered plan that matches your home’s architecture
Your front elevation, roof pitch, and entry scale all influence where light should and shouldn’t go. A layered lighting plan combines uplighting, path lighting, and accent work in a way that follows the geometry of the house rather than fighting it.
A front yard that looks intentional after dark almost always starts with a drawing, not a fixture list.
Choose fixture materials that hold up in Dallas heat
Dallas summers push outdoor fixtures hard. Brass and marine-grade stainless hold up far better than painted aluminum or zinc alloy over time. A designer specifies materials based on your exposure levels, not just aesthetics, which matters when fixtures sit in reflected heat from stone driveways and south-facing beds.
Plan wiring, transformers, and zones before you install
Running wire after the fact, through established beds and under pavers, costs significantly more than planning zones before installation. A properly sized transformer with multiple zones lets you schedule different areas independently and adjust brightness without rewiring. This is one of the areas where professional planning pays for itself quickly.
Your total project budget should account for design time, installation labor, transformer capacity, and a service plan. Quality outdoor lighting systems typically require annual lens cleaning, fixture re-aiming after plant growth, and occasional bulb replacement to stay consistent.
2. Add moonlighting in mature trees
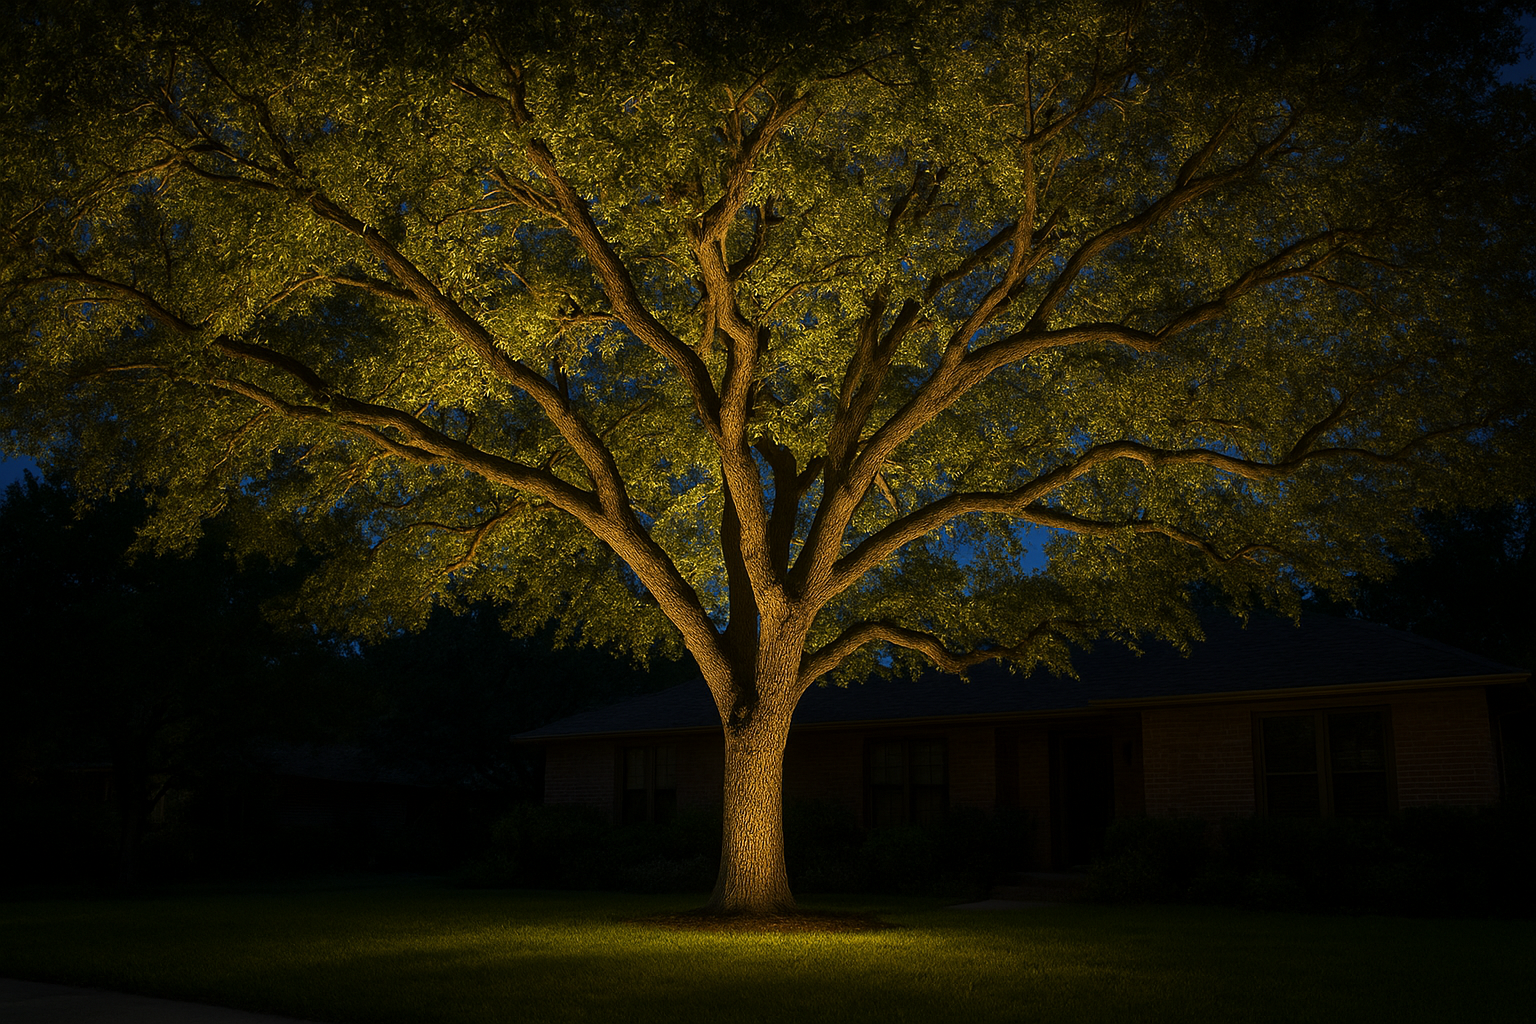
Dallas properties with mature live oaks are well-suited for moonlighting, a technique where fixtures mount high in the canopy and cast soft light downward. When executed correctly, it produces filtered, natural-looking illumination that adds real depth to your front yard without harsh brightness at ground level.
Create the “soft downlight” look without harsh hotspots
Mount fixtures 30 feet or higher and angle them slightly off vertical. The canopy naturally diffuses the beam, producing soft, dappled light on the ground rather than concentrated hotspots that look forced or industrial.
Moonlighting works because the tree itself becomes part of the optical system, not just a mounting point.
Pick the right trees and mounting positions for coverage
Live oaks and cedar elms provide the branching structure moonlighting requires. Attach fixtures to major limbs rather than the trunk to allow for future pruning without disrupting the overall coverage pattern.
Use beam spread and aiming angles to mimic moonlight
A 15- to 36-degree beam works for most North Texas canopies. Aim slightly off-center so foliage diffuses the output naturally rather than producing a tight ground spot below the fixture.
Handle wind, growth, and pruning so fixtures stay effective
Cable-mounted fixtures flex with wind load better than rigid conduit runs. Plan for annual re-aiming as the canopy fills in so beam angles stay consistent through each growing season.
Avoid the most common moonlighting mistakes in Dallas yards
Mounting too low creates a spotlight effect instead of a moon effect. Use 2700K warm white LEDs to avoid the cold, artificial look that higher color temperatures produce under a heavy canopy.
Estimate cost based on tree count and canopy size
A single mature tree typically runs $400 to $700 installed. Your total investment scales with tree count and canopy height, not fixture price alone, so plan your budget around the number of trees you want to include.
3. Wash the facade with warm uplighting
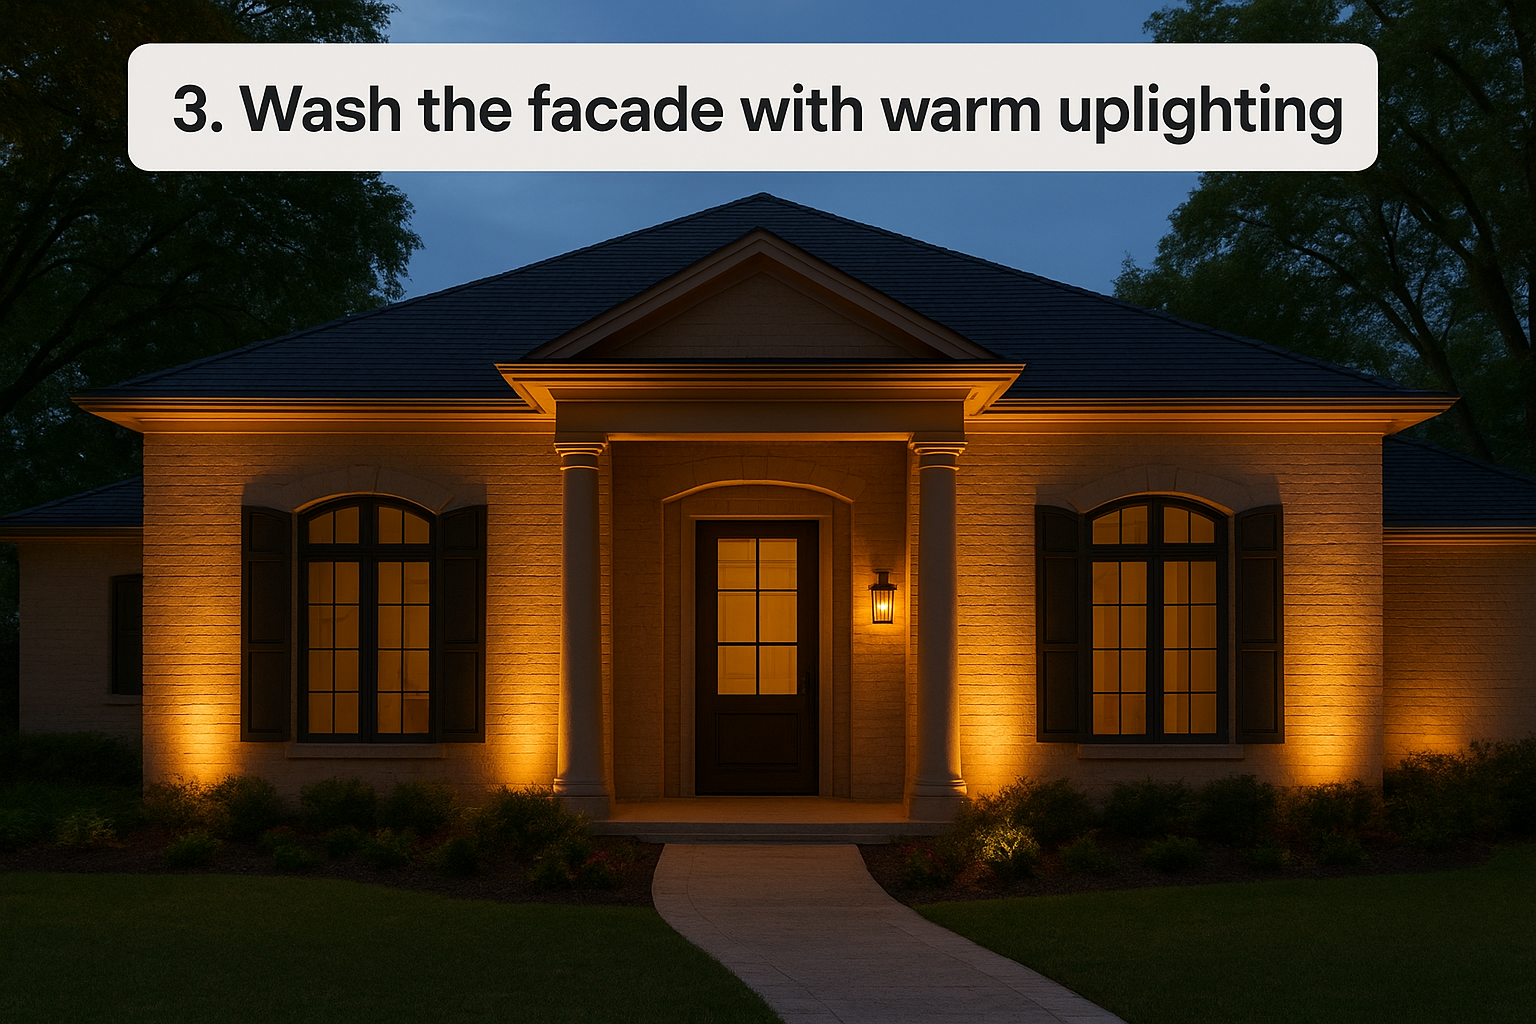
Facade uplighting transforms flat exterior walls into a defining feature after dark. This technique is one of the most requested front yard lighting ideas Dallas homes use to build street presence, with ground-level fixtures aimed upward to reveal architectural depth that goes completely unnoticed in daytime.
Choose between uplighting, wall washing, and grazing
Uplighting concentrates output on a specific feature. Wall washing spreads light evenly across a broad surface, while grazing places fixtures close to the facade to pull texture out through shadow contrast. Each approach suits different materials and elevation compositions.
Light columns, stone, and brick without flattening texture
Grazing works well on limestone and brick because raking light creates contrast across rough surfaces. On smooth stucco, wall washing distributes light more cleanly without harsh shadow patterns pulling focus away from the overall elevation.
Balance brightness so the house looks intentional, not lit up
Keep output levels proportional to the surface area you’re lighting. Overlighting reads as commercial. Dimming capability lets you adjust intensity as ambient conditions shift through seasons.
The goal is enough light to see the house clearly, not enough to read by it.
Match color temperature across the front yard
Use 2700K across all facade fixtures without mixing. Inconsistent color temperatures read as accidental rather than designed. Consistent warm white is what makes a front elevation look refined from the street.
Fit this look to Preston Hollow-style front elevations
Large setbacks and tree canopy require angling fixtures to clear shadow zones. Columns and entry surrounds typically make the strongest focal anchors for uplighting on classic North Texas elevations.
Price this approach by elevation width and focal features
Facade uplighting typically runs $150 to $350 per fixture installed. A front elevation with three to five focal points usually totals between $800 and $2,000 depending on conduit runs and mounting complexity.
4. Light paths, steps, and driveway edges
Path and step lighting serves a dual purpose for your front yard: it keeps footing safe after dark and reinforces the overall visual structure of the landscape. Done well, it disappears into the design. Done poorly, it turns your driveway into an airstrip.
Prioritize safe footing while keeping the look discreet
Low-profile fixtures set flush with hardscape edges light the ground without drawing attention to themselves. Your goal is illuminated surfaces, not visible hardware sticking up from bed edges.
Keep output levels low and even across the walking surface. Bright pools with dark gaps between them create contrast that makes hazards harder to read, not easier.
Set fixture spacing that prevents the “runway” effect
Space fixtures 8 to 12 feet apart along paths rather than every few feet. Wider spacing with higher-output fixtures creates rhythm without the repetitive appearance of tightly packed bollards.
The best path lighting guides movement without announcing itself.
Use step lights and under-cap lights where path lights fail
Step risers and retaining wall caps accept recessed fixtures that wash light downward where footing matters most. These work better than path lights where planting beds are too tight for standard stakes.
Reduce trip hazards by coordinating with grading and drainage
Raised edges and grade transitions concentrate most trip hazards. Coordinate fixture placement with your drainage solutions so lighting and grading reinforce each other rather than working independently.
Select optics that guide movement without glare into windows
Use fully shielded fixtures with downward-only output. For front yard lighting ideas Dallas homes benefit from most, good options include:
- Recessed path lights with frosted lenses
- Step lights with full housing covers
- Bullet fixtures with internal shielding
Budget for path density, hardscape, and trenching complexity
Path lighting typically runs $150 to $250 per fixture installed. Factor in trenching and conduit complexity through established hardscape when estimating your total project cost.
5. Highlight focal points with accents and grazes
Accent and graze lighting is one of the front yard lighting ideas Dallas homes use to turn specific features into deliberate focal points rather than letting the yard read as a flat, undifferentiated mass after dark. Done with restraint, this approach makes your property feel curated rather than lit.
Pick the right focal points so the yard feels curated
Focus on two or three strong features per zone. A specimen tree, a stone entry wall, or a sculptural plant grouping gives the eye clear places to rest without competing with the facade lighting you’ve already established.
Uplight specimen trees and sculptural plants with restraint
Use a narrow 15-degree beam on specimen trees and keep wattage low. Single-stem trees and agaves read well under accent light without requiring multiple fixtures to feel complete.
Graze walls, hedges, and fences to add depth
Place fixtures 6 to 12 inches from the surface to pull texture forward through shadow contrast. This technique works particularly well on limestone walls and clipped hedges.
Grazing adds perceived depth to a flat front yard without adding more brightness overall.
Light address numbers and entries without overlighting the door
Keep entry and address lighting subtle, roughly equivalent to ambient path light levels. Bright doors compete with facade lighting and flatten the layered depth you’ve built elsewhere.
Add smart schedules and dimming to keep scenes consistent
Program separate dimming zones for accent and graze fixtures so you can reduce output after midnight without shutting down path or entry lighting entirely.
Plan maintenance for lens cleaning, aiming, and plant growth
Schedule annual re-aiming as plants mature and shift beam coverage. Lens cleaning twice a year keeps output levels consistent and prevents gradual dimming that erodes the scene over time.
Next steps for your front yard
These five approaches cover the core techniques behind every high-end front yard lighting result we deliver across Dallas properties. Whether you start with moonlighting in a mature live oak or facade uplighting across a stone elevation, each technique builds on the others once you have a layered plan in place. The front yard lighting ideas Dallas homes benefit from most aren’t about adding more fixtures. They’re about knowing what to light, how much output to use, and where to stop.
Your next move depends on where your property stands now. If your current system is aging or underperforming, an evaluation can clarify what’s worth keeping and what needs replacing. If you’re starting from scratch, a site walkthrough gives you a clear starting point before you commit to any design direction. To see how these approaches translate to real projects, browse our completed Dallas landscape projects for reference, or request a consultation to get a plan specific to your property.