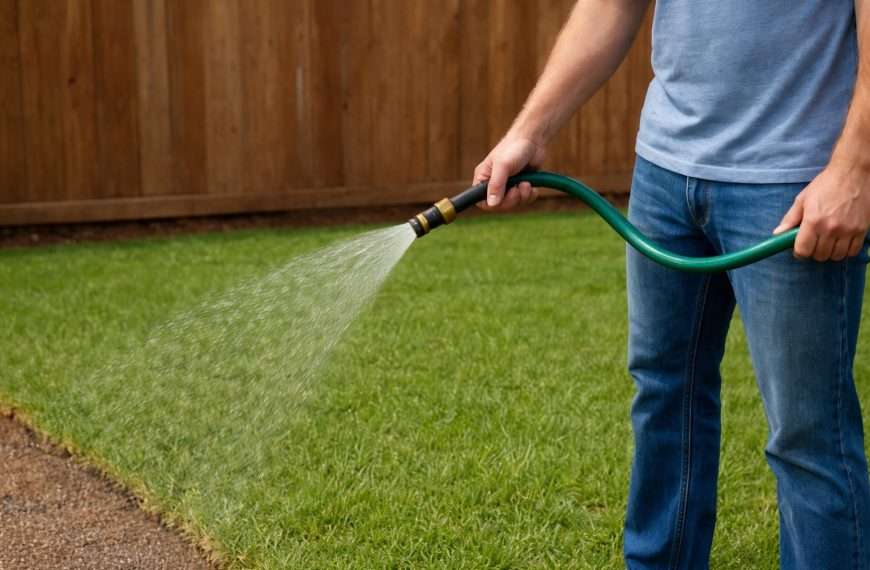
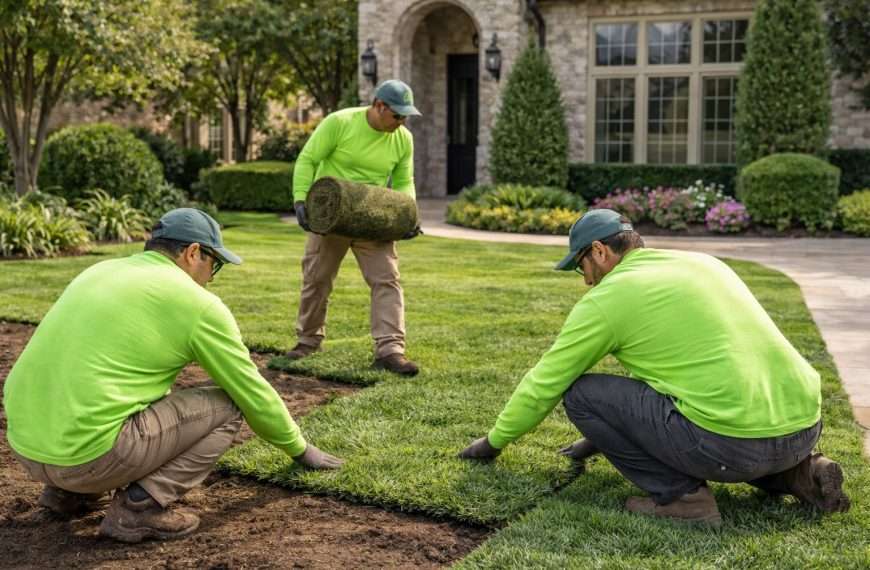
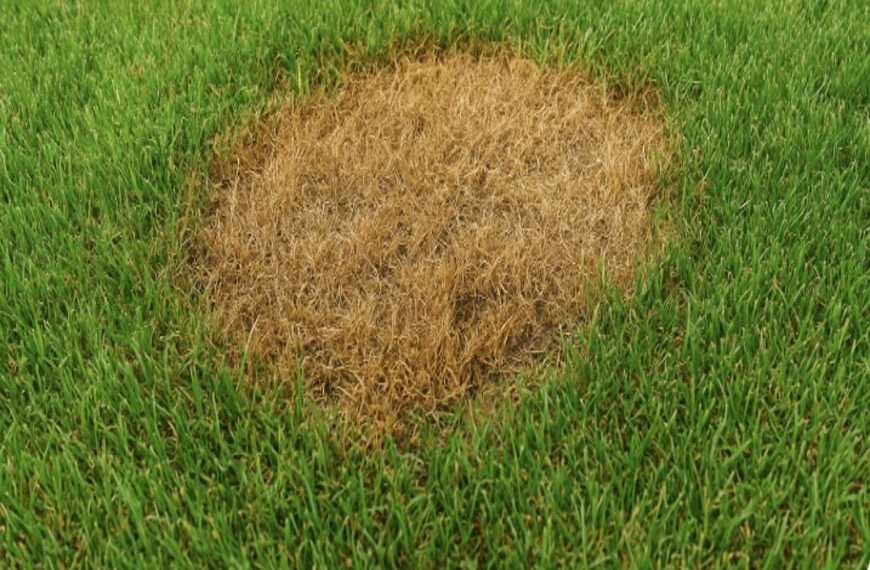
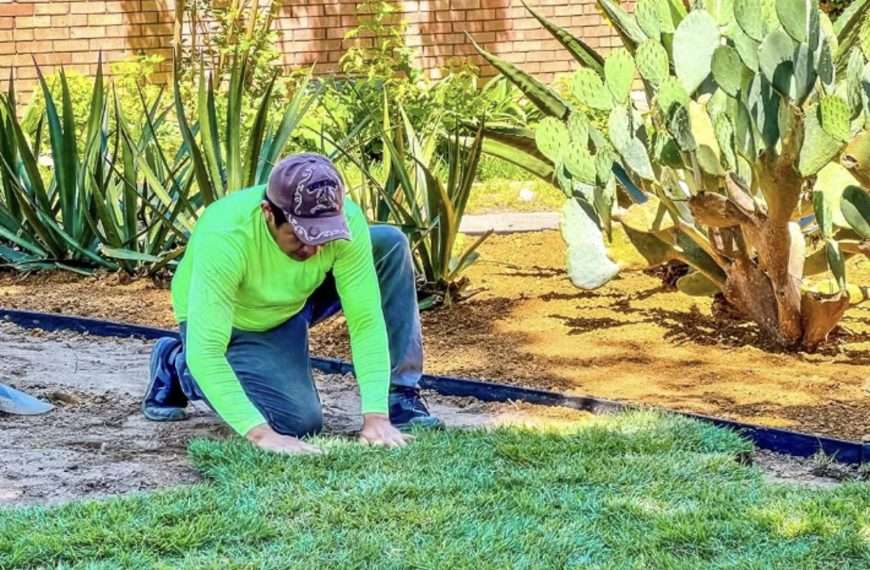
The first four weeks after sod installation determine whether your lawn establishes strong roots or struggles through its first Texas summer. Watering new sod in Texas requires more precision than most homeowners expect, too much water in clay soil leads to fungal problems, and too little during a stretch of 100°F afternoons will kill turf before it ever takes hold. Timing, volume, and local water restrictions all factor into the equation, and getting any one of them wrong can cost you a full reinstall.
At Greenform Landscapes, we install and maintain sod across Dallas, from the heavy clay lots in Preston Hollow to sun-exposed properties with minimal shade. We’ve seen what works and what doesn’t in North Texas soil and heat conditions, and the schedule below reflects that hands-on experience. This guide walks through a week-by-week watering plan for newly installed sod, including how to adjust for municipal watering restrictions, seasonal variables, and the soil types common throughout the DFW area.
How new sod takes root in Texas
New sod arrives at your property without an established root system. The grass is alive, but its roots are shallow, cut during harvest, and completely dependent on consistent moisture at the soil surface to survive the transition. In North Texas, that transition period is compressed by heat, aggressive evaporation, and soil conditions that don’t behave like the loamy ground sod was likely grown in. Understanding what the turf is doing underground during this period helps you make better watering decisions throughout the entire first month.
The rooting process in the first four weeks
During the first week, sod relies entirely on moisture held in the top inch of soil to keep the root mat alive. The existing roots are dormant or damaged from cutting, and new root tips haven’t yet reached into your native soil. This is the most critical phase for watering new sod in Texas, and skipping even a single day in warm weather can cause irreversible dieback at the root level. By weeks two and three, new roots begin reaching downward, but they remain fragile and still need frequent irrigation until they gain enough depth to access stored soil moisture on their own.
The visible surface of the sod tells you very little. Yellowing or wilting above ground usually means root damage has already occurred below.
How North Texas soil affects establishment
Most Dallas properties sit on heavy clay or clay-loam soil, which holds water longer than sandy ground but drains poorly when oversaturated. Clay doesn’t absorb water quickly, so short, frequent irrigation cycles work better than long single-run sessions during week one. Sandy or amended beds drain faster and may require additional cycles in peak summer heat. Soil temperature also matters: when ground temperatures stay above 85°F, root growth slows, which extends the establishment window and increases your total watering obligation through the full four-week schedule.
Prep checklist: soil, sprinklers, water limits
Before watering new sod in Texas begins, three things need to be in order: your soil grade, your sprinkler coverage, and your municipality’s watering schedule. Skipping this prep work leads to uneven establishment, wasted water, and potential local water restriction violations that can result in fines.
Check your soil grade and moisture
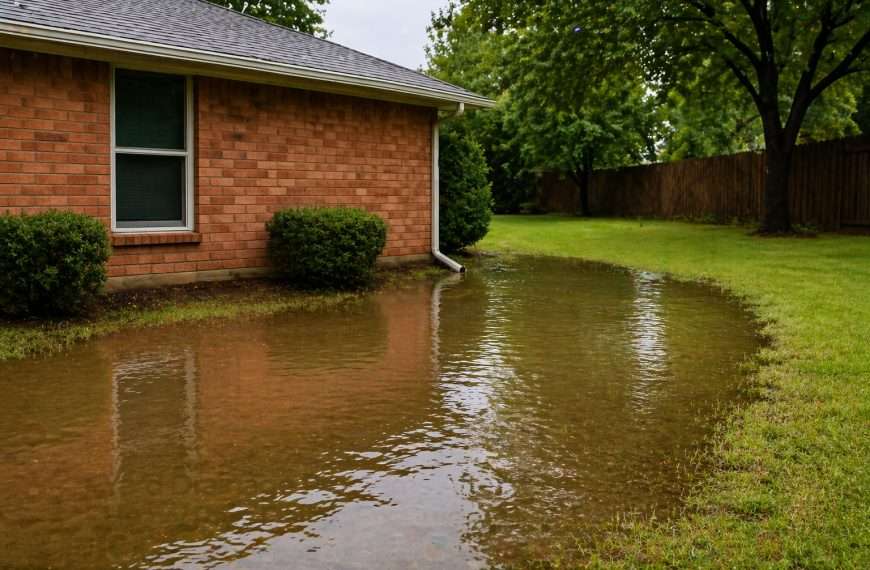
Your soil surface should be graded away from the foundation and free of low spots where water can pool. Standing water during week one suffocates new roots in clay soil. Before sod goes down, lightly moisten the prepared bed so the turf makes immediate contact with damp soil rather than dry ground.
Confirm your sprinkler coverage
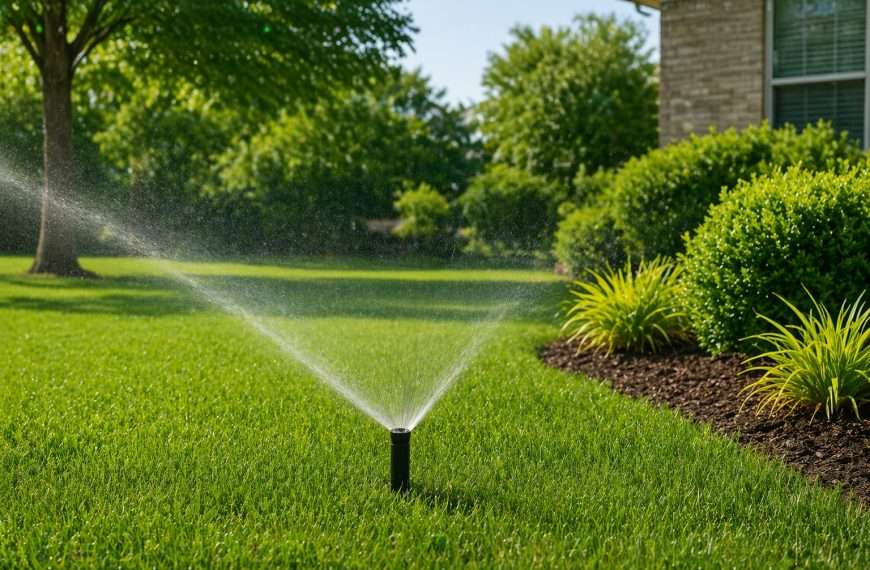
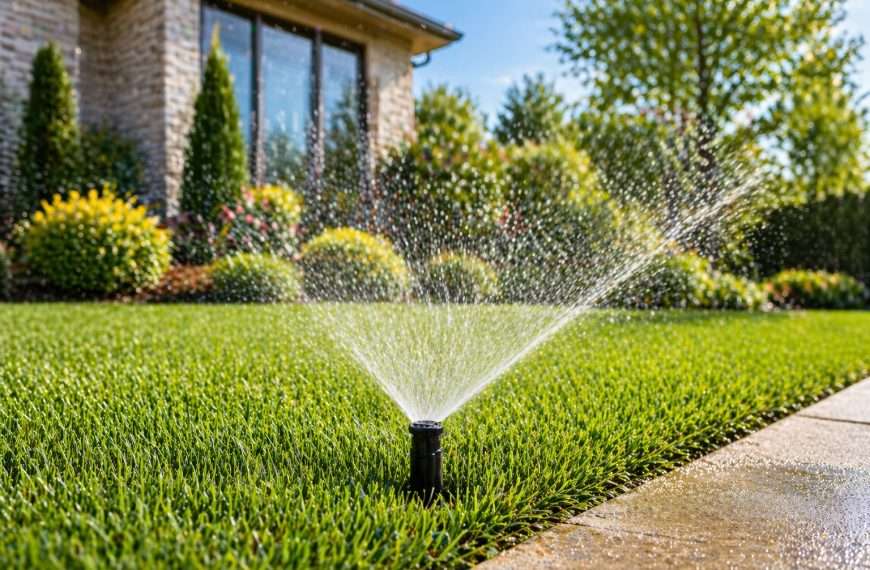
Walk each irrigation zone and confirm head-to-head coverage, meaning each sprinkler head reaches the next one. Gaps in coverage create dry patches that won’t survive the establishment period. Run each zone for two minutes before installation and watch for dry areas, clogged heads, or misdirected nozzles.
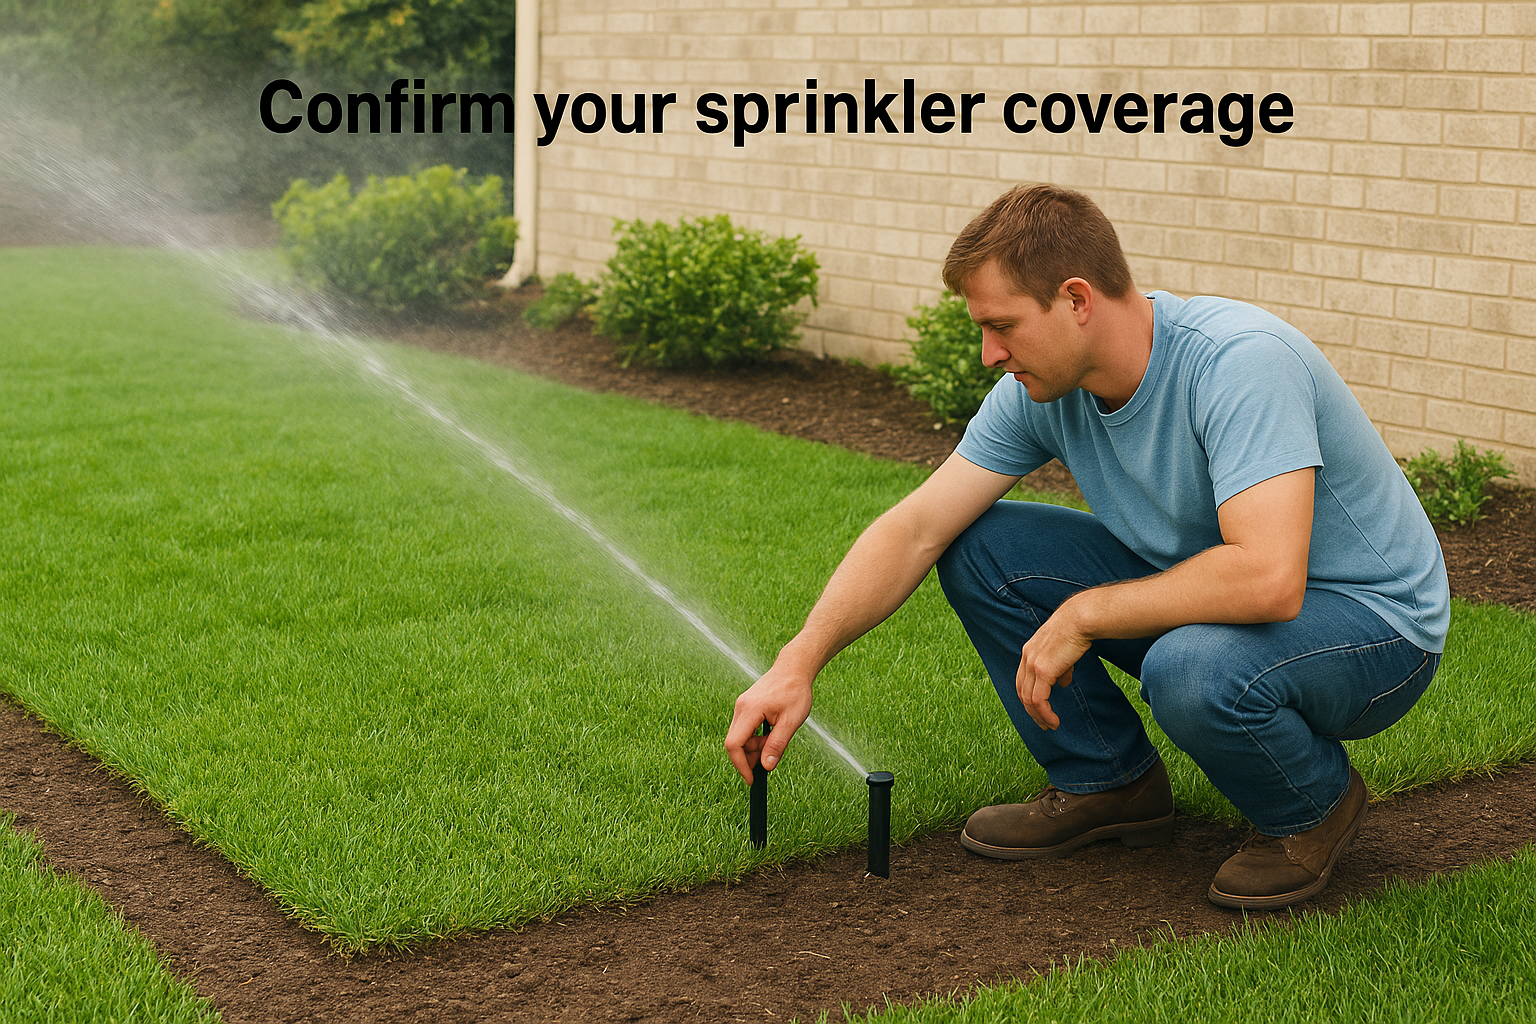
Uneven irrigation coverage is one of the most common reasons new sod fails in isolated patches rather than uniformly across the lawn.
Know your Dallas watering restrictions
Most Dallas-area municipalities limit outdoor watering to two assigned days per week during the growing season. Check your city’s schedule before installation and plan your sod date around your permitted watering days so your first-day watering falls within an allowed window.
If your installation date falls outside a permitted day, many municipalities offer a new landscaping exemption that allows daily watering for the first 30 days. Confirm this exception with your city’s water utility before the project begins.
Week 1: day 0 through day 7 watering plan
Week one is the highest-stakes period for watering new sod in Texas. Your goal is to keep the top 1 to 2 inches of soil consistently moist without saturating clay ground to the point of pooling. This means multiple short cycles per day rather than one long run.
Day 0: installation day
Water your sod immediately after each section is laid, not after the full lawn is complete. Start in the area installed first, which has already been sitting on dry ground the longest. Aim to push moisture 2 to 3 inches into the soil beneath the sod mat. Run each zone for approximately 20 to 30 minutes on day zero to reach that depth.
Lift a corner of the sod after watering to confirm that the soil beneath is damp, not just the grass surface.
Days 1 through 7: daily schedule
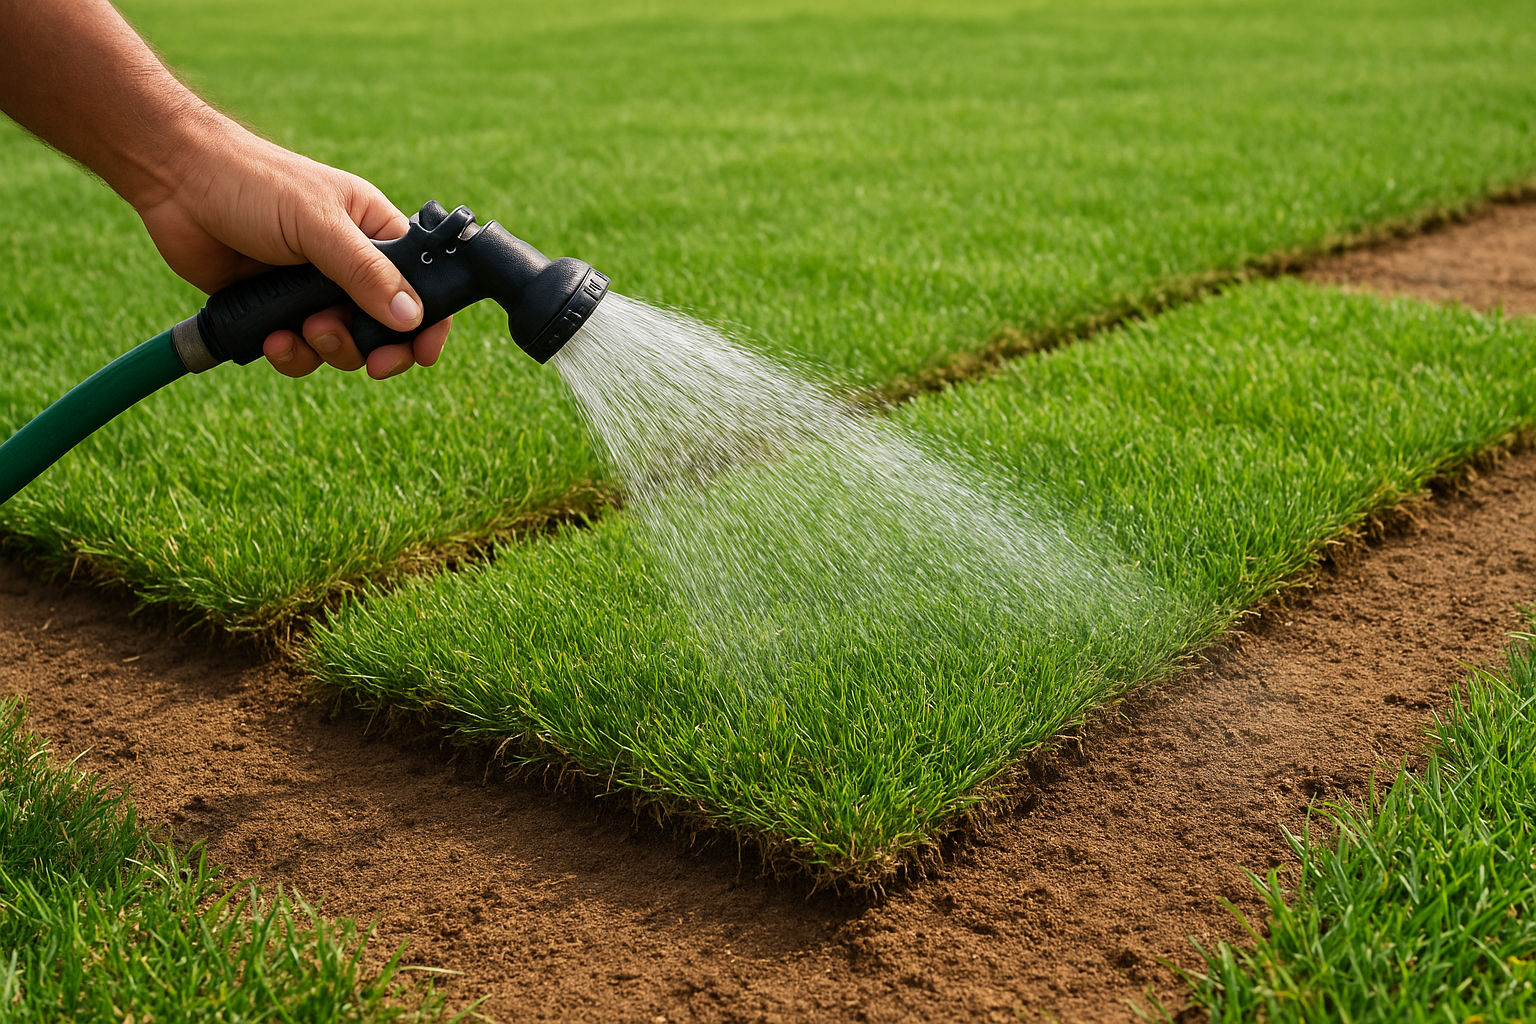
Run three irrigation cycles per day during days one through seven: early morning, midday, and late afternoon. Each cycle should run 10 to 15 minutes per zone. Avoid evening watering, which leaves surface moisture overnight and increases fungal risk in warm North Texas soil.
| Time of Day | Cycle Duration | Purpose |
|---|---|---|
| 6:00 – 7:00 AM | 10–15 min/zone | Primary hydration |
| 12:00 – 1:00 PM | 10–15 min/zone | Heat offset |
| 4:00 – 5:00 PM | 10–15 min/zone | Pre-evening recovery |
Week 2: day 8 through day 14 watering plan
By day eight, your sod should show early signs of rooting: light resistance when you tug a corner and firmer surface contact with the soil below. If those signs are present, you can reduce irrigation frequency. Watering new sod in Texas through week two shifts from surface moisture maintenance to encouraging roots to grow deeper into your native soil.
Adjusting your irrigation schedule
Cut your daily cycles from three to two per day during days eight through fourteen. Run each zone for 15 to 20 minutes to push moisture deeper than week one. This encourages root growth downward rather than keeping roots concentrated near the surface.
| Time of Day | Cycle Duration | Purpose |
|---|---|---|
| 6:00 – 7:00 AM | 15–20 min/zone | Deep moisture push |
| 4:00 – 5:00 PM | 15–20 min/zone | Afternoon recovery |
What to watch for during week two
Check the sod surface each morning before your first cycle. If the ground still feels damp, skip the afternoon run. Gaps opening between pieces or curling edges mean the soil dried too fast and you need to temporarily restore the midday cycle.
If sections of sod lift easily by day 14, those areas are behind schedule. Extend week-one frequency for those zones before moving forward.
Full-sun areas on south-facing slopes dry out faster than shaded sections. Monitor these zones separately and adjust cycle duration rather than applying one schedule across the entire lawn.
Weeks 3–4: root check, mowing, tapering
By week three, watering new sod in Texas shifts into a tapering phase. Your goal changes from surface moisture maintenance to training roots deeper into native soil. Run irrigation once per day, early morning only, for 20 to 25 minutes per zone. This longer single cycle pushes moisture further down and forces roots to follow.
Checking root depth before cutting back
Before reducing irrigation in week three, perform a root pull test: grip a small section of sod firmly and pull upward with moderate force. If the turf lifts easily, roots haven’t anchored yet and you need to continue the week-two schedule for a few more days. Firm resistance means the sod has bonded with the soil and you can safely begin tapering.
Root depth, not calendar date, should determine when you reduce watering frequency.
First mow and final irrigation adjustments
Your first mowing should happen when the grass reaches approximately 4 inches in height, typically around day 18 to 21. Set your mower height to remove no more than one-third of the blade in a single pass. Mowing too low before roots are established stresses the turf.
By day 28, transition to your permanent irrigation schedule: two to three times per week at 25 to 30 minutes per zone, adjusted for your city’s permitted watering days.
A steady lawn after week 4
Reaching day 28 means your sod has completed the most demanding phase of watering new sod in Texas. From this point forward, your lawn responds to a standard irrigation schedule rather than the intensive daily cycles of establishment. Two to three deep watering sessions per week are typically sufficient for most Dallas turf types through the summer, adjusted for rainfall and your city’s permitted days.
Your long-term focus shifts to root depth, soil moisture consistency, and mowing discipline rather than surface hydration. Avoid the common pattern of returning to frequent shallow watering during the next heat stretch. Short cycles train roots upward, which makes your lawn more vulnerable to stress over time.
For homeowners who want support planning irrigation timing or maintaining turf through seasonal transitions, our Dallas lawn care and maintenance services can help keep your lawn on track throughout the year.