Fresh sod transforms a property fast, but the first few weeks after installation determine whether that investment takes root or falls apart. Most failures we see across Dallas aren’t caused by bad sod. They’re caused by watering mistakes, poorly timed mowing, or foot traffic too soon. A solid set of new sod care instructions makes the difference between a lawn that establishes strong and one that struggles through its first summer.
North Texas adds its own complications. Clay soils drain slowly, afternoon heat accelerates moisture loss, and irrigation systems often need temporary adjustments that homeowners aren’t told about at install. In neighborhoods like Preston Hollow and Lakewood, where mature trees create uneven shade patterns, sod care isn’t one-size-fits-all, it requires attention to site-specific conditions from day one.
At Greenform Landscapes, we install and maintain sod across Dallas with a focus on proper timing and long-term turf health. This guide walks through the full establishment timeline, watering schedules, mowing windows, fertilization, and traffic restrictions, so you know exactly what to do and when to do it.
What new sod needs in Dallas
New sod arrives as a cut product with minimal root mass and a limited ability to absorb water on its own. During the first few weeks, the grass depends entirely on consistent external moisture to bridge the gap between installation and the point when roots anchor into your soil. Understanding what the turf actually needs in this window is where solid new sod care instructions begin.
In North Texas, sod faces conditions that make establishment harder than most regions: compacted clay soils, intense afternoon heat, and rapid surface drying between irrigation cycles.
Soil conditions unique to North Texas
Dallas soils are predominantly heavy clay, which creates a specific challenge for new sod. Clay holds water but resists absorption, meaning irrigation can pool at the surface and run off before it reaches the sod’s root layer. Loosening the top inch of soil before installation helps, but many homeowners inherit whatever prep was done by the installer and need to work with the conditions they have.
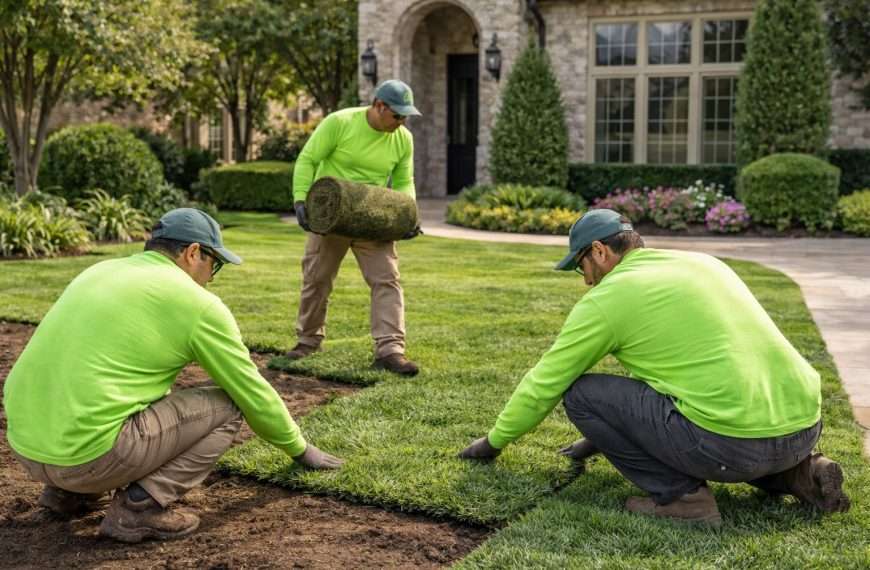
Proper soil preparation and installation technique play a major role in how well sod establishes in these conditions. If you’re planning a new lawn or want to ensure it’s done correctly from the start, learn more about our sod installation services in Dallas and what to expect from a professional install.
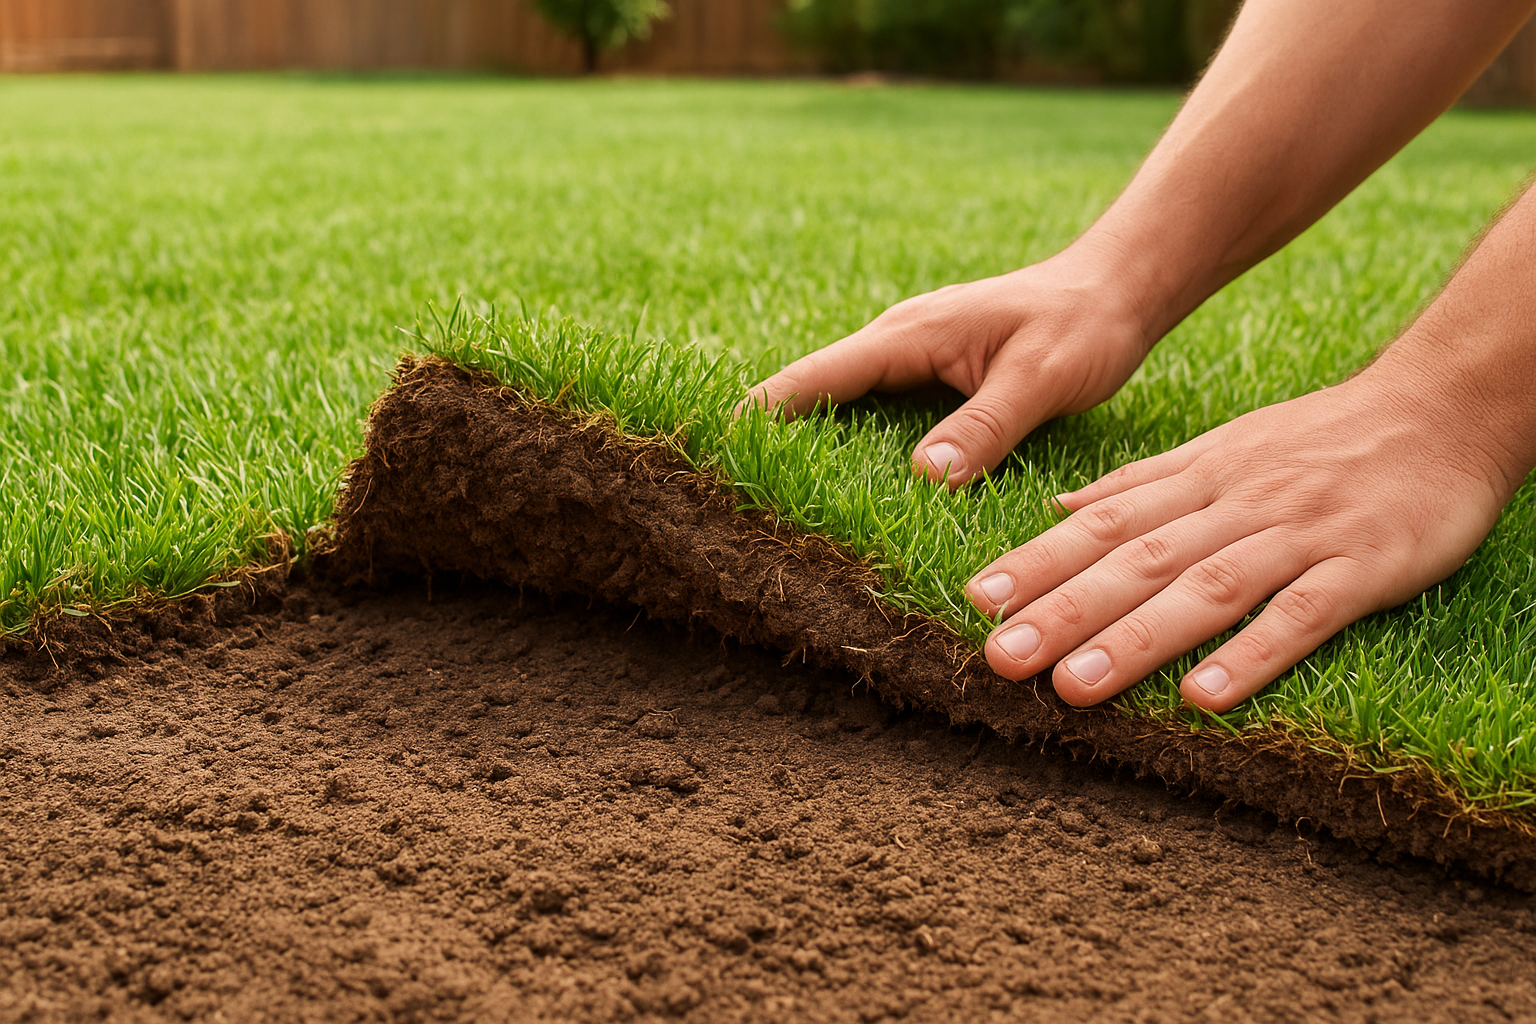
Your goal in the first two weeks is to keep the soil consistently moist to a depth of 3 to 4 inches, not just the surface. You can verify this by pulling back a corner of the sod and pressing a screwdriver into the ground. If it meets firm resistance before reaching 3 inches, your irrigation isn’t penetrating deeply enough.
Grass type and sun exposure
Sod variety affects how much water and heat stress it can tolerate during establishment. Bermuda, the most common choice in Dallas, establishes relatively quickly in full sun but struggles in shaded areas under mature tree canopies. Zoysia is more shade-tolerant but roots more slowly, which extends the care timeline you’ll need to follow before the lawn can handle normal use.
Because each grass type performs differently depending on sun exposure and soil conditions, choosing the right one upfront plays a major role in how your lawn performs long-term. If you’re unsure whether you selected the best option for your property, our guide to the best grass for Dallas lawns breaks down which varieties perform best in North Texas conditions.
Step 1. Watering schedule for days 0–14
The first two weeks are the most critical in any set of new sod care instructions. Your sod has no established root contact with the soil yet, so consistent moisture is the only thing keeping it alive. Skipping even one watering cycle during this window in a Dallas summer can cause edges to curl and die back within hours.
Frequency and duration
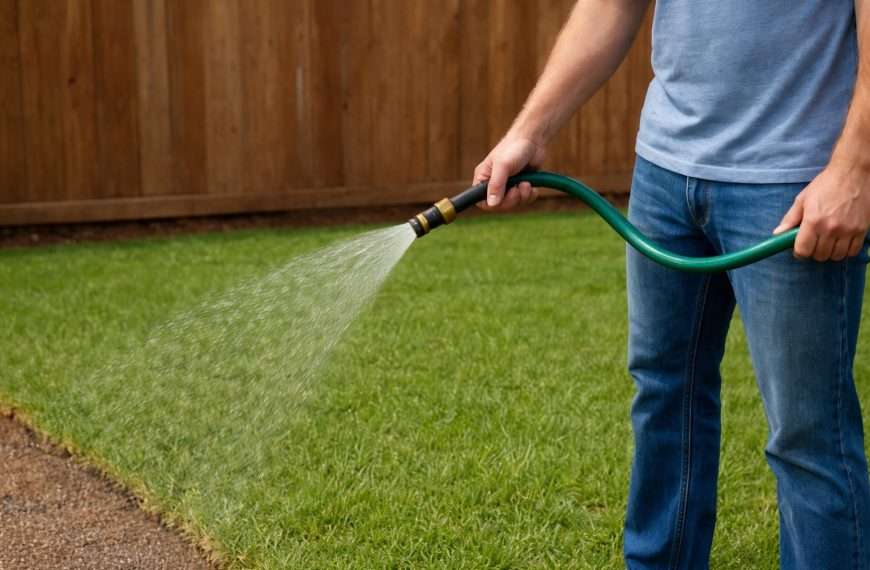
During days 0 through 7, water two to three times daily, keeping each session short at 10 to 15 minutes per zone. The goal is surface saturation, not deep penetration yet. From days 8 through 14, pull back to once or twice daily as roots begin making initial contact with the soil.
The most common mistake during this phase is running irrigation too long at once, which causes runoff on clay soil rather than actual penetration.
Adjusting for heat and shade
Schedule your primary morning cycle before 9 a.m. to minimize evaporation loss during peak afternoon heat. In areas with heavy tree canopy, the soil tends to stay moist longer, which means cutting one daily cycle to avoid oversaturation and fungal pressure. Check soil depth moisture every two to three days by pressing a screwdriver into the ground just past the sod edge.
Step 2. Reduce watering for weeks 3–6
By week three, your sod’s roots have begun anchoring into the soil, and the watering strategy needs to shift. Continuing to water as frequently as you did in the first two weeks will keep the root zone shallow, which makes the turf more vulnerable to heat stress and drought later in the season. The goal now is to encourage roots to chase moisture deeper into the soil profile.
Reducing watering frequency at this stage is one of the most important transitions in any complete set of new sod care instructions.
Transition to deep, less frequent watering
Cut back to watering once every two to three days, running each zone long enough to wet the soil 4 to 6 inches deep. A single 20- to 25-minute cycle per zone typically achieves this on Dallas clay, but verify by checking soil depth with a screwdriver after each session.
From weeks 5 through 6, move toward a standard twice-weekly schedule that mirrors mature lawn irrigation. If your sod shows light footprint impressions or a grayish-blue tint in the afternoon, it’s signaling a need for water before the next scheduled cycle.
Step 3. Mowing and traffic rules
Cutting and walking on new sod too early are two of the most common ways homeowners set back an otherwise healthy installation. Both activities stress the turf and disrupt root-to-soil contact before it fully forms. Proper timing at this stage is a core part of any reliable set of new sod care instructions.
When to mow for the first time
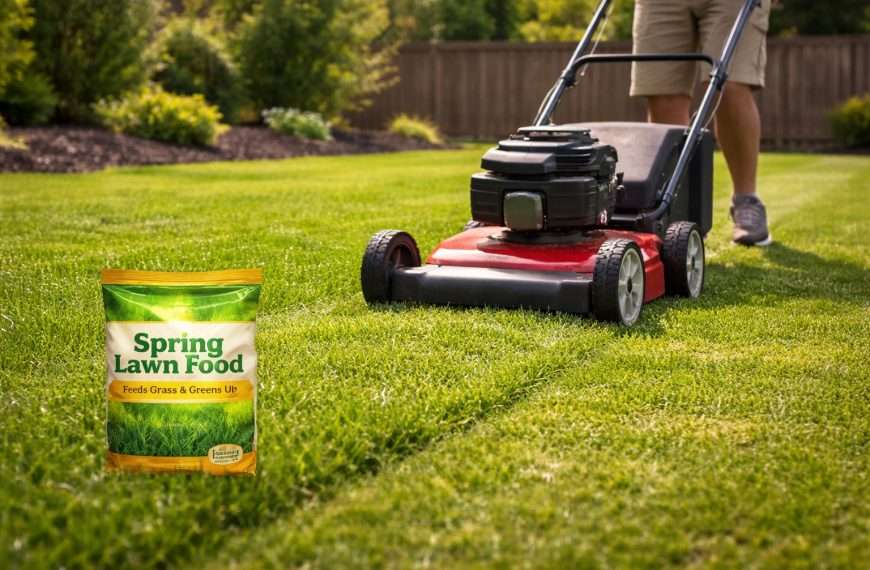
Wait until your sod reaches 3 to 3.5 inches in height before mowing, which typically happens around weeks 3 to 4 in Dallas. Before cutting, tug a small section firmly. If the sod lifts without resistance, roots haven’t anchored yet and mowing will do more harm than good.
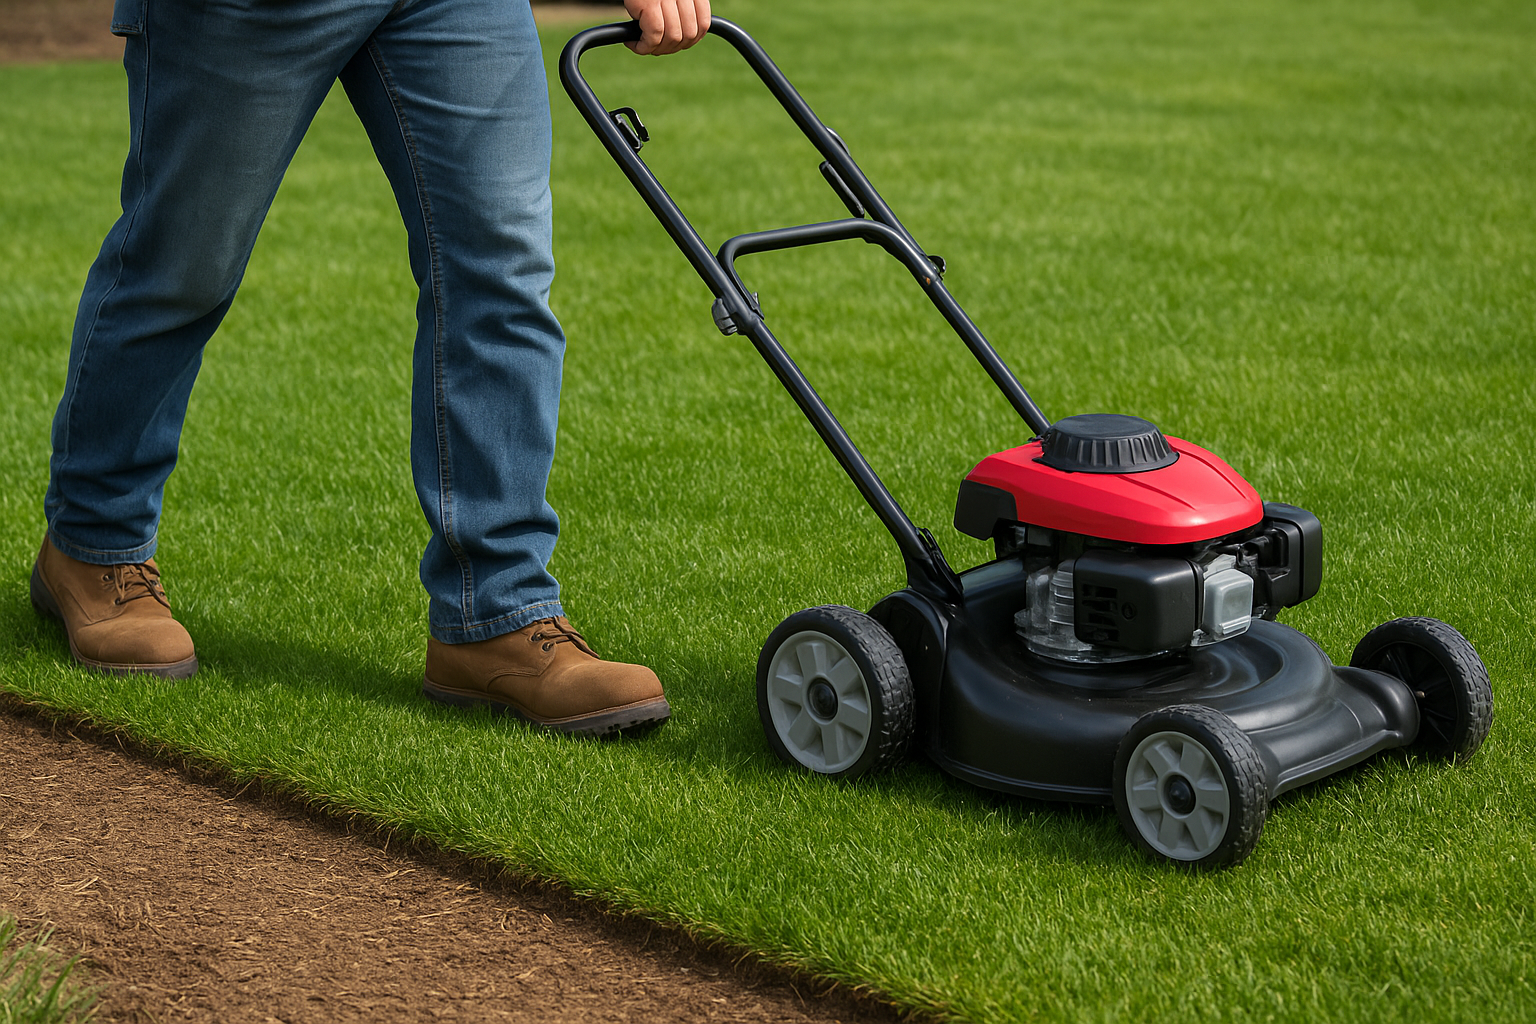
Never remove more than one-third of the blade height in a single mowing session, especially during the establishment period.
Set your mower height to cut no lower than 2 to 2.5 inches for the first two cuts. Mow when the soil surface is dry to avoid rut damage from equipment weight.
Managing foot traffic
Keep foot traffic completely off the sod for the first two weeks. Between weeks 3 and 6, limit crossing to short, direct paths. Heavy or repeated pressure compresses the soil before roots have the strength to recover. Children, pets, and any recreational use should wait until the sod passes the tug test consistently across the full area.
Step 4. Fertilizing and problem signs
New sod doesn’t need fertilizer immediately after installation. The turf’s energy during the first four weeks goes into root development, not top growth, and applying fertilizer too early pushes blade growth before the root system can support it.
When and how to fertilize
Wait until your sod passes the tug test across the full installation area before applying any fertilizer, which typically falls around weeks 4 to 6 in Dallas. Use a starter fertilizer with a higher phosphorus ratio (look for a middle number like 20 in a 6-20-0 formula) to support root establishment rather than green-up.
Applying a high-nitrogen fertilizer before roots anchor fully draws moisture upward and can stress the turf during Dallas summer heat.
Reading early warning signs
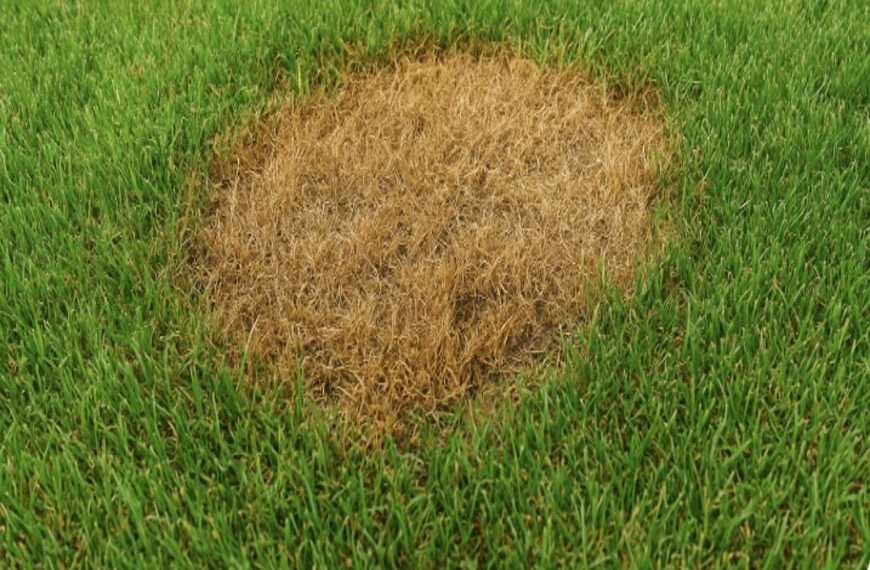
Complete new sod care instructions include knowing what problems look like early. Yellowing at the edges often signals drought stress or poor soil contact, while a gray-blue tint across broader sections points to insufficient watering. Brown patches that appear in circles may indicate fungal pressure, which is more common in areas with heavy shade or oversaturation.
If you see lifting corners or gaps between sod pieces, increase watering frequency and press the affected sections back firmly into the soil surface.
Putting your lawn back on autopilot
Once your sod clears the 6-week establishment window, the intensive care phase is behind you. Your turf is now rooted deeply enough to handle standard irrigation twice a week, normal mowing at your preferred height, and routine fertilization on a seasonal schedule. Following these new sod care instructions through each phase is what separates a lawn that thrives long-term from one that struggles through its first Dallas summer.
From this point forward, the focus shifts to maintaining what you’ve built. Keep an eye on soil moisture during heat spikes and adjust your irrigation schedule when temperatures hold in the upper 90s for extended stretches. A well-established lawn recovers from heat stress far more reliably than one that was rushed through the early weeks.
If you’d like hands-on support with your turf through any stage of the process, explore our lawn care services to see how we support established Dallas properties.