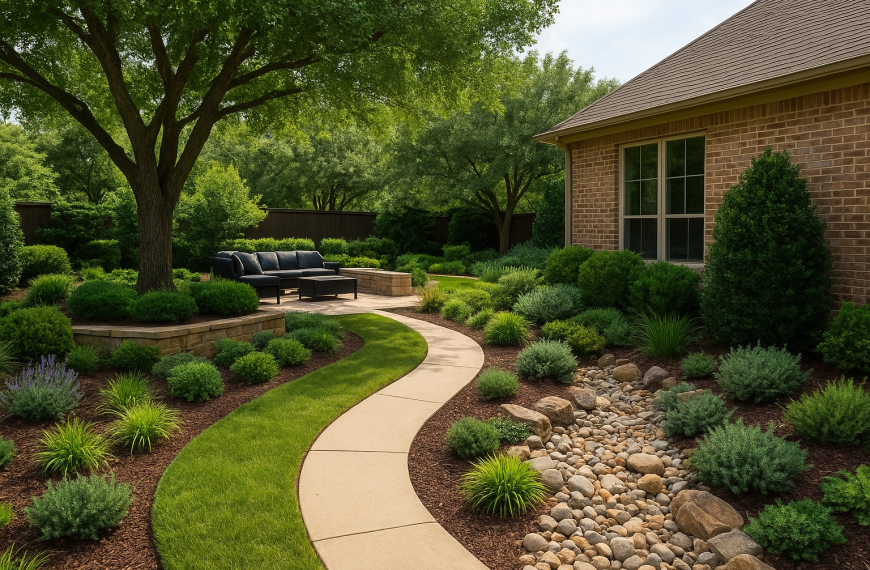
When temperatures finally begin to climb in Preston Hollow, garden beds are ready to shake off winter’s hold and begin their spring renewal. Spring bed cleanup isn’t just about aesthetics — it’s about giving your landscape the best chance to thrive while protecting the beneficial insects that spent the cold months tucked safely in your yard. Rush the process, and you can disturb overwintering pollinators before they emerge, which can slow down nature’s own restoration.
At Greenform Landscapes, we handle spring bed maintenance across established Dallas neighborhoods including Preston Hollow, Midway Hollow, Lakewood, and Highland Park. One thing we’ve learned over the years is that both timing and technique matter. Clean up too late, and weeds take hold and steal the advantage. Too early, and you risk disrupting the very ecosystem you’re trying to nurture — a balance our sustainable approach prioritizes with every project.
This guide walks through when to begin spring bed cleanup in Dallas, what tasks to prioritize first, and how to protect beneficial wildlife while getting your beds ready for a strong, healthy growing season.
When to start spring bed cleanup in Dallas
You can start your spring bed cleanup in Dallas when soil temperatures consistently reach 50°F, which typically happens between mid-March and early April. Calendar dates don’t tell the full story because North Texas weather swings can shift your window by several weeks from one year to the next.
Watch soil temperature, not calendar dates
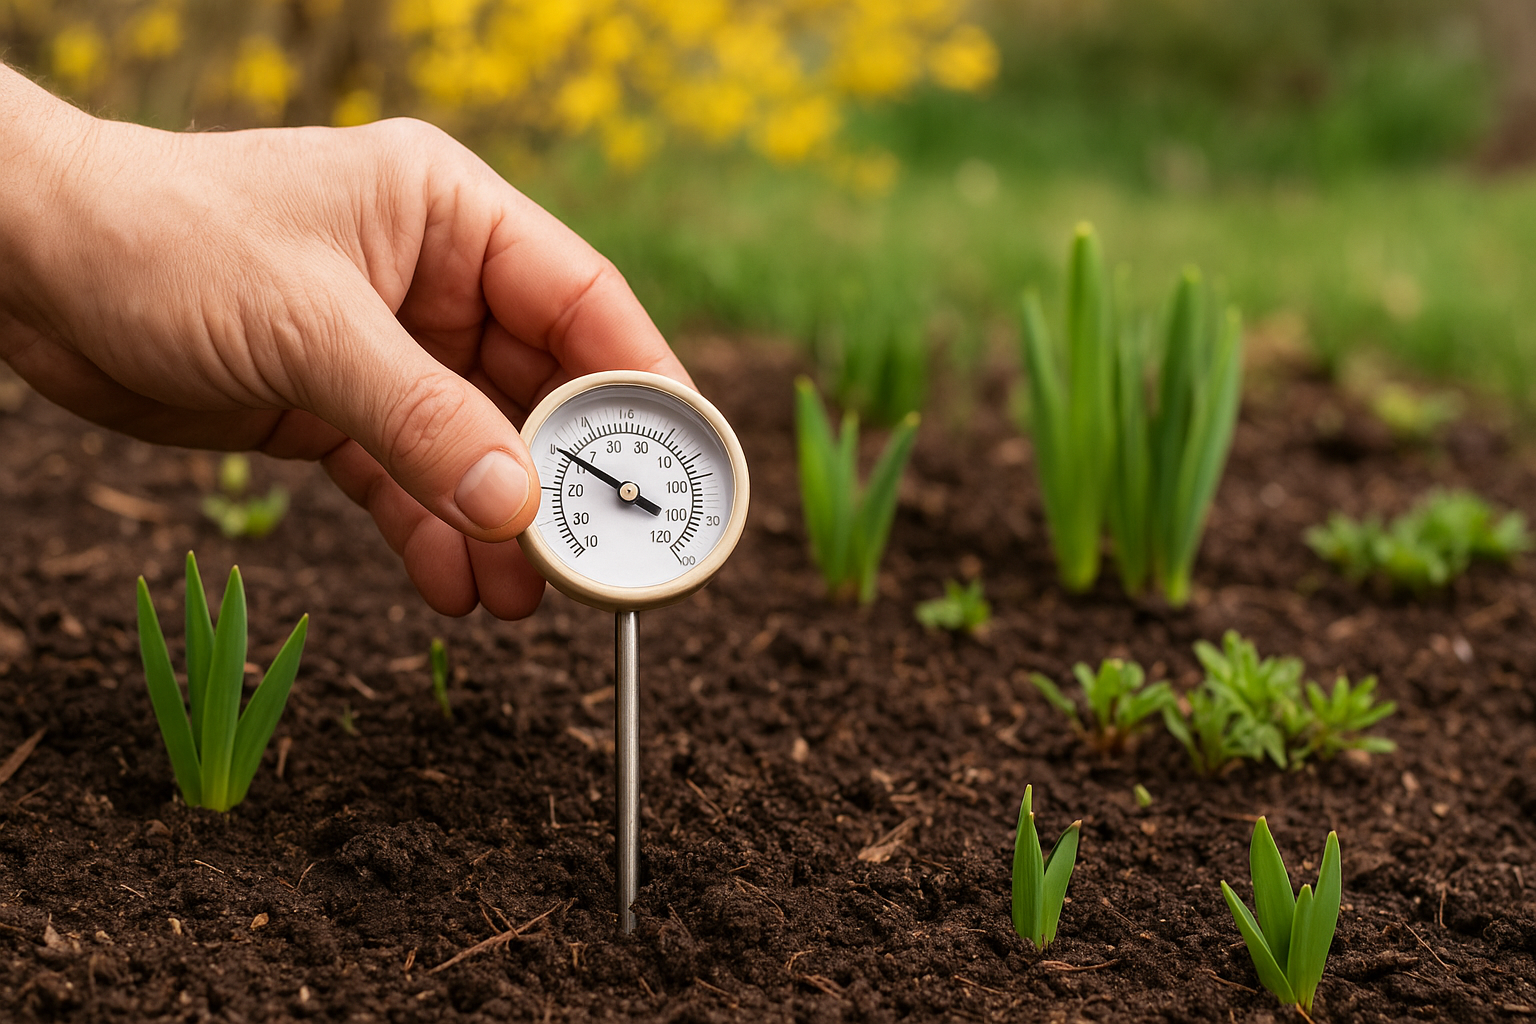
Your soil temperature matters more than what month it is. When ground temps hit 50°F for at least three consecutive days, beneficial insects start emerging and your perennials begin active growth. You can check this with a basic soil thermometer pushed 2-4 inches deep into your bed, taken in the morning for the most accurate reading.
Below 50°F, many native bees and butterflies remain dormant in hollow stems and leaf litter. Clean up before they emerge, and you remove their winter shelter before they’ve had a chance to leave it.
If you start too early, you’re essentially evicting pollinators from their winter homes before they’re ready to fly.
Look for natural signals in your yard
Dallas landscapes give you clear visual cues that it’s time to act. Watch for new green shoots pushing through last year’s mulch or forsythia blooms appearing on neighboring properties, both reliable indicators that your yard is waking up. You’ll also notice emerging daffodils and early perennials showing fresh growth at soil level.
These signals tell you the ecosystem is ready for intervention. Your goal is to clean up after these signs appear but before spring weeds establish deep root systems, usually a two to three week window in late March.
Dallas timing considerations
Highland Park and University Park neighborhoods typically warm up one to two weeks earlier than outer areas like North Dallas due to urban heat effects. If your property sits in a southern exposure with full sun, you can start cleanup sooner than shaded north-facing beds, which need extra time to warm.
Wait until nighttime lows stay above 40°F consistently for at least a week. This signals the end of damaging freeze risk and means your spring bed cleanup won’t be interrupted by another cold snap that damages freshly pruned plants.
Step 1. Walk your beds and set priorities
Start your spring bed cleanup by walking through each bed with a notebook and camera. You need to assess the full scope before you touch anything, which prevents wasted effort and helps you identify problem areas that need immediate attention versus tasks that can wait.
Document what needs attention first
Take photos of each bed section from multiple angles so you can track progress and reference problem spots later. Look for areas with heavy debris accumulation, sections where perennials have died back completely, and spots where weeds already show green growth breaking through mulch.
Your priority list should follow this order:
- Beds with visible weed growth (tackle these first before roots establish)
- Areas with poor drainage or standing water from winter rains
- Overgrown perennials that need division or major cutback
- Damaged plants from winter freeze events
- Mulch voids where soil sits exposed
Mark plants you’re unsure about
Flag any stems or crowns you can’t immediately identify with small stakes or tape. Many Dallas natives like Mexican bush sage and salvias look dead in late winter but push new growth from the base in April. Give these questionable plants two more weeks before removing them, which prevents accidentally destroying plants that simply need more time to wake up.
Don’t rush to remove what looks dead until you’ve given it time to prove otherwise.
Step 2. Remove debris without harming pollinators
Your spring bed cleanup needs to balance tidiness with ecosystem health. Many native bees and beneficial insects overwinter inside hollow plant stems and under leaf litter, so aggressive removal before temperatures stabilize puts them at risk. You need to remove debris strategically rather than clearing everything at once.
Leave hollow stems standing until mid-April
Keep hollow-stemmed perennials like Joe Pye weed, coneflowers, and ornamental grasses standing until Dallas nighttime lows stay above 50°F for two full weeks. These stems house solitary bee larvae that need warm, stable temperatures before they emerge as adults. Cut these stems to 8-12 inches above ground instead of removing them completely, then leave the cut pieces in an undisturbed corner of your yard for another month.
Native bees can take four to six weeks after emergence temperature to fully exit their winter homes.
Remove debris in controlled sections
Clear one-third of your beds each week over a three-week period. Start with the sunniest, warmest areas where insects emerge first, then move to shadier sections. Rake dead leaves into small piles and move them to garden edges rather than bagging immediately, which gives displaced insects time to relocate. Remove any diseased plant material first, as this spreads pathogens regardless of pollinator concerns.
Debris you should remove immediately:
- Diseased or fungal-damaged leaves
- Dense mat layers blocking new growth
- Decomposed mulch turned to soil
- Winter annual weeds already setting seed
Step 3. Cut back, prune, and divide the right way
Your spring bed cleanup moves into active plant management once debris removal finishes. Cutting back perennials and dividing overgrown clumps both require specific timing and technique to avoid damaging plants just as they start their growth cycle. You need to know which plants to cut, how low to go, and when division helps versus hurts.
Cut perennials to proper heights
Remove dead stems from perennials when you see new basal growth appearing at soil level. Cut ornamental grasses to 4-6 inches above ground using sharp hedge shears or a reciprocating saw for large clumps. Take herbaceous perennials like coneflowers and black-eyed Susans down to 2-3 inches, leaving enough stem to mark plant locations.
Different plants need different approaches:
- Salvia and Russian sage: Cut to 6-8 inches, new growth emerges from old wood
- Sedum and asters: Cut to 2 inches, growth comes from crown
- Liriope and mondo grass: Mow or cut to 3 inches before new blades appear
- Ornamental grasses: Bundle and cut 4-6 inches high to prevent crown damage
Cutting too low damages the crown where new growth originates, which sets your plants back weeks.
Divide overgrown clumps
Spring division works best for summer and fall bloomers like daylilies, hostas, and sedums. Wait until shoots reach 3-4 inches tall so you can see natural division points in the clump. Use a sharp spade to cut straight down through the center, then lift sections with intact root balls and replant immediately at the same depth.
Step 4. Weed, edge, and refresh mulch and soil
Your spring bed cleanup reaches its most visible phase when you address weeds, redefine borders, and restore mulch layers. This step transforms cleaned beds into polished landscapes while creating barriers that suppress future weed growth throughout the season. You need to tackle weeds now before root systems expand and seeds mature.
Target weeds before they establish
Pull winter annual weeds like henbit and chickweed while soil stays moist from spring rains, which makes removal easier and more complete. Use a sharp hoe to sever taprooted weeds like dandelions below the crown, then extract the entire root system to prevent regrowth. Focus on areas where mulch has thinned or decomposed, as these spots give weeds direct soil access and ideal germination conditions.
Removing weeds before they flower prevents thousands of seeds from spreading across your beds.
Redefine bed edges and refresh mulch
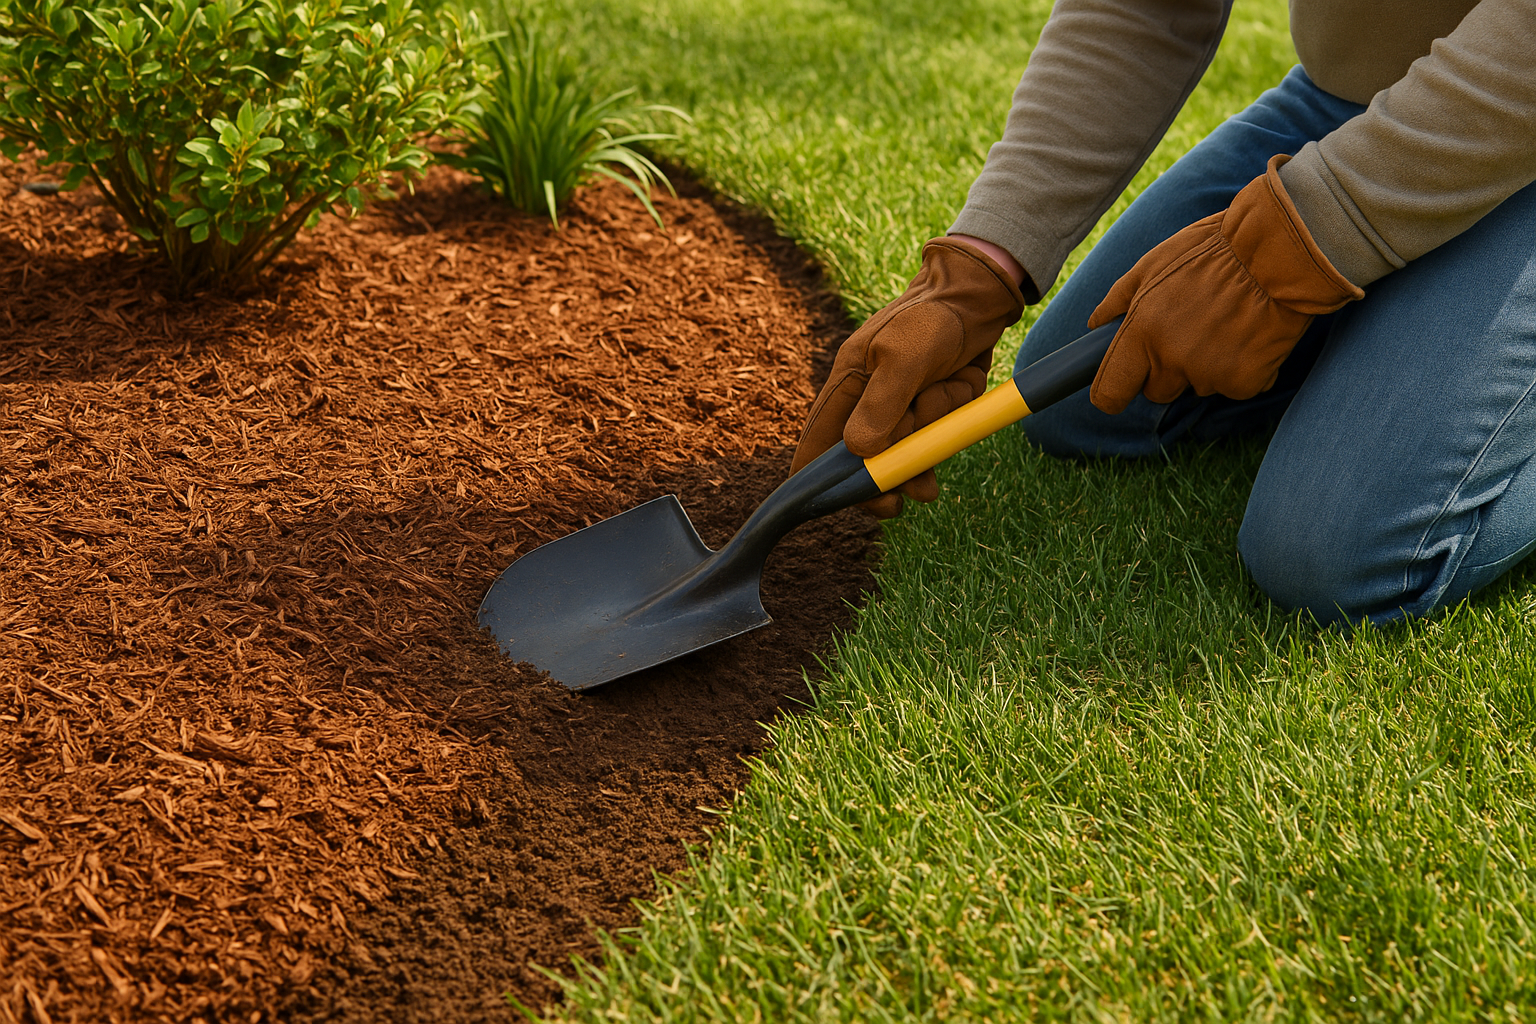
Cut crisp bed lines using a flat spade or edging tool, creating a 2-3 inch trench between turf and bed areas. Remove any grass runners that have crept into beds during winter dormancy. Add fresh mulch to reach a total depth of 3-4 inches, measuring from soil level after you’ve removed old, decomposed material. Keep mulch 2 inches away from plant crowns and tree trunks to prevent moisture-related diseases and pest problems.
Step 5. Check irrigation, drainage, and turf edges
Your spring bed cleanup isn’t complete until you verify the systems that keep plants healthy through Dallas summers. Irrigation problems and poor drainage both cause expensive damage when left unaddressed, turning minor issues in March into major failures by June. You need to inspect, test, and correct these elements before summer heat arrives.
Test sprinkler coverage and adjust heads
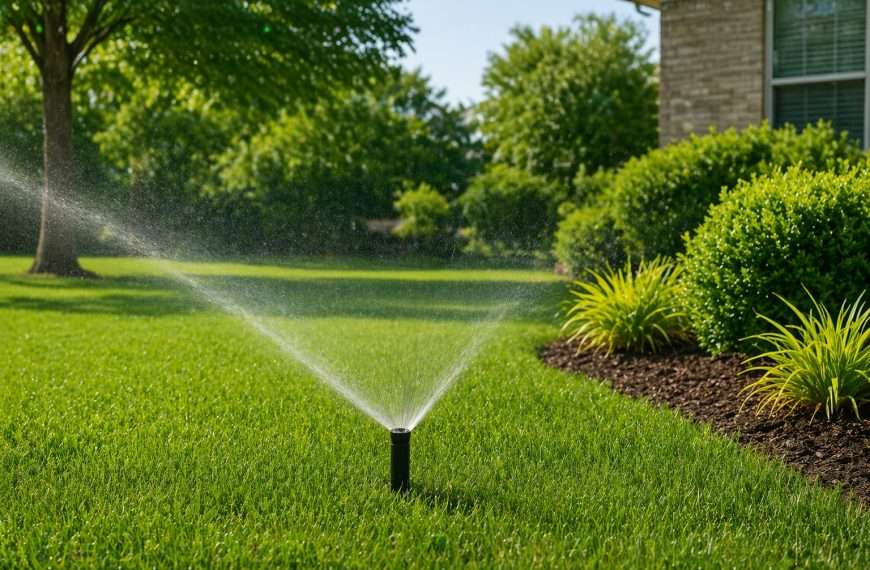
Run each irrigation zone for a full cycle and watch for dry spots, overspray onto hardscapes, and heads that need adjustment. Look for clogged nozzles producing weak streams or misting patterns that waste water through evaporation. Replace any damaged sprinkler heads and adjust spray patterns to cover plant root zones without hitting house siding or sidewalks.
Check pressure at each zone by counting active heads versus designed capacity. Low pressure means you likely have leaks in underground lines that need repair before they worsen.
Inspect drainage patterns and bed edges
Walk your property during the next rain event to identify standing water in beds or along foundations. These problem areas need grading corrections or drainage solutions like French drains before root rot develops. Clean out any clogged drainage channels and remove soil buildup along bed edges that blocks water flow.
Poor drainage kills more plants in Dallas than drought because our clay soil holds water against root systems.
Recut turf edges where grass has grown into beds, creating a clean 2-3 inch vertical barrier between lawn and planted areas.
Ready for a cleaner spring landscape
Your spring bed cleanup sets the foundation for a healthy growing season in Dallas. Following these five steps, walking your beds, removing debris carefully, cutting back properly, refreshing mulch, and checking irrigation, protects pollinators while giving your plants exactly what they need to thrive through summer heat. Each step builds on the previous one to create resilient, low-maintenance beds that look polished without sacrificing ecosystem health.
The work requires timing precision and attention to detail that many homeowners struggle to execute while managing busy schedules. Missing the right window or using incorrect pruning techniques costs you weeks of growing time and potentially damages plants you’ve invested years developing.
At Greenform Landscapes, we handle complete spring bed maintenance across Dallas using sustainable practices and quiet battery-powered equipment that respects your neighborhood. Request a consultation to get your beds professionally prepared, or explore our project portfolio to see results we’ve delivered from Highland Park to Lakewood.