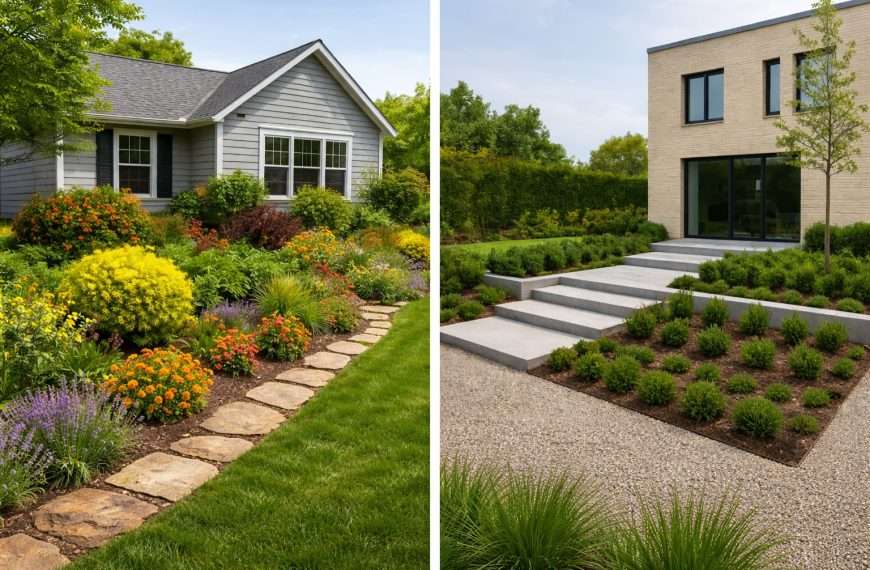
If you’ve been staring at a thin, patchy lawn wondering whether it’s worth trying to nurse it back or start fresh, you’ve probably already asked: what is sod installation, and is it the right move for your property? It’s a fair question, and in Dallas, the answer depends on more than just preference. Soil conditions, timing, and grass selection all play a role in whether sod takes hold or struggles from the start.
Sod installation is the process of laying pre-grown turf grass onto prepared soil to establish a lawn quickly and reliably. Compared to seeding, which can take months and carries real risk in North Texas heat, sod provides immediate ground cover and a much shorter path to a rooted, functional lawn. For properties in neighborhoods like Preston Hollow or Lakewood, where curb appeal and property condition matter year-round, it’s often the more practical choice.
At Greenform Landscapes, we install sod across Dallas with close attention to soil preparation, turf selection, and seasonal timing, the three factors that determine whether a new lawn establishes well or fails early. This guide walks through each step of the process, from site prep to post-installation watering, along with realistic cost expectations for the Dallas area so you can make an informed decision for your property.
What sod installation means in Dallas
Sod installation is the process of laying sections of pre-grown grass onto prepared ground so the roots can bond with the soil beneath. Each piece arrives as a harvested mat with an established root system, live grass blades, and a thin layer of growing medium attached. The goal is to transition that mat from the farm where it was grown to your property without losing root viability, and then give it the conditions it needs to root permanently into your soil. Understanding what sod installation involves from start to finish helps you plan realistically and avoid the common missteps that cause new turf to fail.
How sod is grown and sourced in North Texas
Sod farms grow turf under controlled conditions for 12 to 18 months before harvest. Most Dallas-area sod comes from farms in Central and South Texas, where Bermuda, Zoysia, and St. Augustine varieties are cultivated in soil and sun conditions comparable to North Texas. When you order sod, you receive turf that was cut within the last 24 to 48 hours. That window matters: sod left on pallets in summer heat loses viability quickly, especially in Dallas where ambient temperatures routinely exceed 95°F during peak installation months.
The closer the sod’s farm conditions match your local soil and climate, the better its transition to your property will be.
Grass type selection is one of the first decisions you need to make, and it carries long-term consequences. Bermuda grass performs well in full-sun Dallas properties and handles heat and drought better than most alternatives. Zoysia tolerates more shade and recovers more slowly but produces a dense lawn that competes well with weeds once established. St. Augustine works in shadier areas but requires more consistent irrigation. The right choice depends on your specific yard conditions, not just a general preference.
What makes Dallas different from other markets
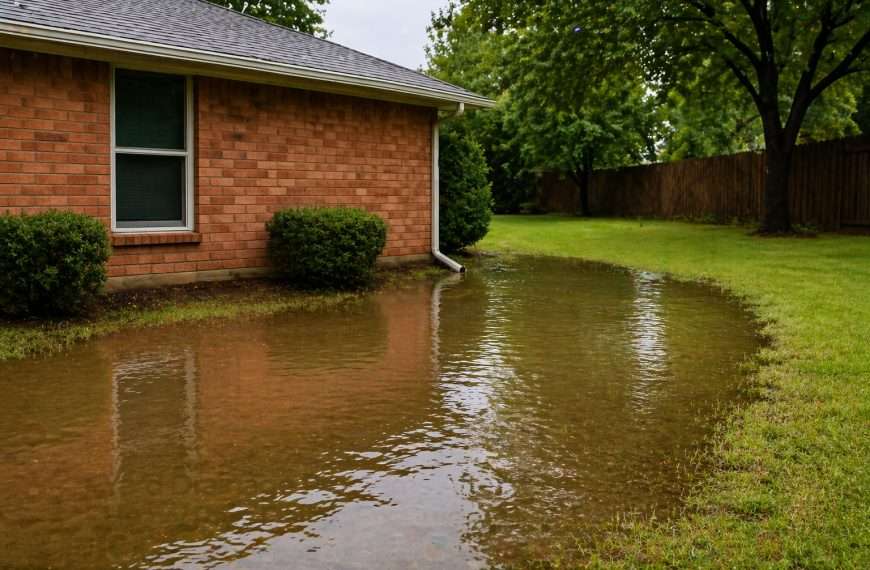
Dallas properties present conditions that make sod installation more demanding than in many other parts of the country. Heavy clay soils in neighborhoods like Bluffview and University Park drain poorly, which means water can pool at the surface before the sod roots have had a chance to establish. Without proper soil preparation, that standing moisture creates an environment where roots suffocate rather than spread.
Seasonal timing shapes the outcome here more sharply than in milder climates. Spring installation between late March and early May gives sod the best chance to root before summer heat peaks. Fall installation in September and October works well for Zoysia and Bermuda, but it requires careful attention to soil temperatures, which need to stay above 65°F for active root growth. Summer installation is possible but demands more aggressive watering schedules and carries a higher risk of heat stress. Winter installation is generally not advisable in North Texas, as root activity slows significantly below 50°F soil temperature, leaving the sod vulnerable to desiccation and freeze damage before it can establish.
Sod vs seed and plugs
Understanding what is sod installation starts with knowing what separates it from the alternatives. You have three realistic options for establishing a lawn in Dallas: sod, seed, or plugs. Each one has a different timeline, cost profile, and risk level, and the conditions on your specific property should drive that decision more than budget alone.
How the three methods compare
Sod delivers immediate ground cover with an established root mat that simply needs to bond with your soil. It costs more upfront, but it removes the extended window of vulnerability that seeding and plugging create. With seed, you’re working with germination rates that vary by soil temperature, moisture, and competition from weeds, and in North Texas heat, that window is narrow. With plugs, you’re planting individual grass sections spaced several inches apart and waiting for lateral spread, a process that can take one to two full growing seasons to fill in completely.
The real cost of seed and plugs isn’t just money. It’s the months your yard spends in a partially established state, susceptible to erosion, weeds, and heat stress.
| Method | Establishment Time | Relative Cost | Best Use Case |
|---|---|---|---|
| Sod | 2 to 4 weeks | Higher | Full lawn replacement or new construction |
| Seed | 3 to 6 months | Lower | Large areas with mild conditions and time |
| Plugs | 1 to 2 seasons | Moderate | Spot repair or spreading Zoysia gradually |
When seed or plugs make more sense
Seeding works best in situations where you have a large area, mild spring temperatures, consistent irrigation, and enough lead time before Dallas summers arrive. A property receiving a full renovation in early spring with several months before peak heat can get reasonable results from quality Bermuda seed. Plugs are a reasonable option for gradual Zoysia expansion in well-shaded areas where you aren’t trying to establish a full lawn from scratch, just fill gaps over time.
For most established Dallas properties where appearance, timing, and reliability matter, sod is the practical choice. The ability to walk on and maintain a functional lawn within weeks rather than months justifies the cost difference for most homeowners.
Step 1. Plan, measure, and order sod
Before anything touches the ground, you need accurate measurements and a clear grass selection. This step is where many homeowners underestimate the work involved in what is sod installation from a planning standpoint. Ordering too little means gaps you can’t fill with matching sod from the same cutting batch. Ordering too much wastes money and leaves viable sod sitting on pallets past its viable window. Getting this step right protects your investment before any physical work begins.
Measure your lawn accurately
Start by breaking your yard into rectangular sections on paper or a simple sketch. Measure each section’s length and width in feet, then multiply to get square footage. Add those totals together for your overall area. Most suppliers sell sod by the pallet, with each pallet typically covering 400 to 500 square feet depending on the variety and farm. Add 5 to 10 percent to your total to account for cuts, curves, and waste around edges and obstacles like beds, trees, and walkways.
A 10 percent overage buffer is standard practice. Running short mid-installation is a far worse problem than having a few extra pieces on hand.
Use this simple formula for each section of your yard:
- Length (ft) x Width (ft) = Section square footage
- Add all sections together for total square footage
- Multiply total by 1.10 to include a 10 percent waste buffer
- Divide by your pallet coverage to determine pallet quantity
Order sod close to your installation date
Timing your order matters as much as quantity. Most Dallas-area sod farms require 48 to 72 hours notice, and delivery is typically scheduled for the morning of your installation day. You want the sod to arrive the same day your soil prep is complete, not the day before. Sod sitting on pallets in North Texas spring or summer heat loses root viability within 24 to 36 hours, particularly with Bermuda and Zoysia.
Confirm with your supplier that the variety you’re ordering matches your sun exposure and soil type. A farm that can advise on cultivar performance in clay-heavy Dallas soils is worth the call before you commit to a pallet count.
Step 2. Prepare soil for North Texas lawns
Soil preparation is the most overlooked part of what is sod installation, and it’s also where most failed lawns start. In Dallas, the default condition is heavy clay soil that compacts easily, drains slowly, and resists root penetration if you don’t address it before laying turf. No matter how fresh your sod is or how carefully you time the installation, roots won’t establish properly if the ground beneath is compacted, uneven, or chemically imbalanced.
Test and amend your clay soil
Before you till anything, test your soil to understand its pH and nutrient baseline. Most North Texas clay soils run slightly alkaline, often between 7.0 and 8.0 pH, which can limit nutrient uptake in newly establishing turf. A basic soil test from your local extension service costs very little and tells you whether you need to add sulfur to lower pH or lime to raise it. Adjusting before installation means the sod roots into a corrected environment rather than fighting poor chemistry from day one.
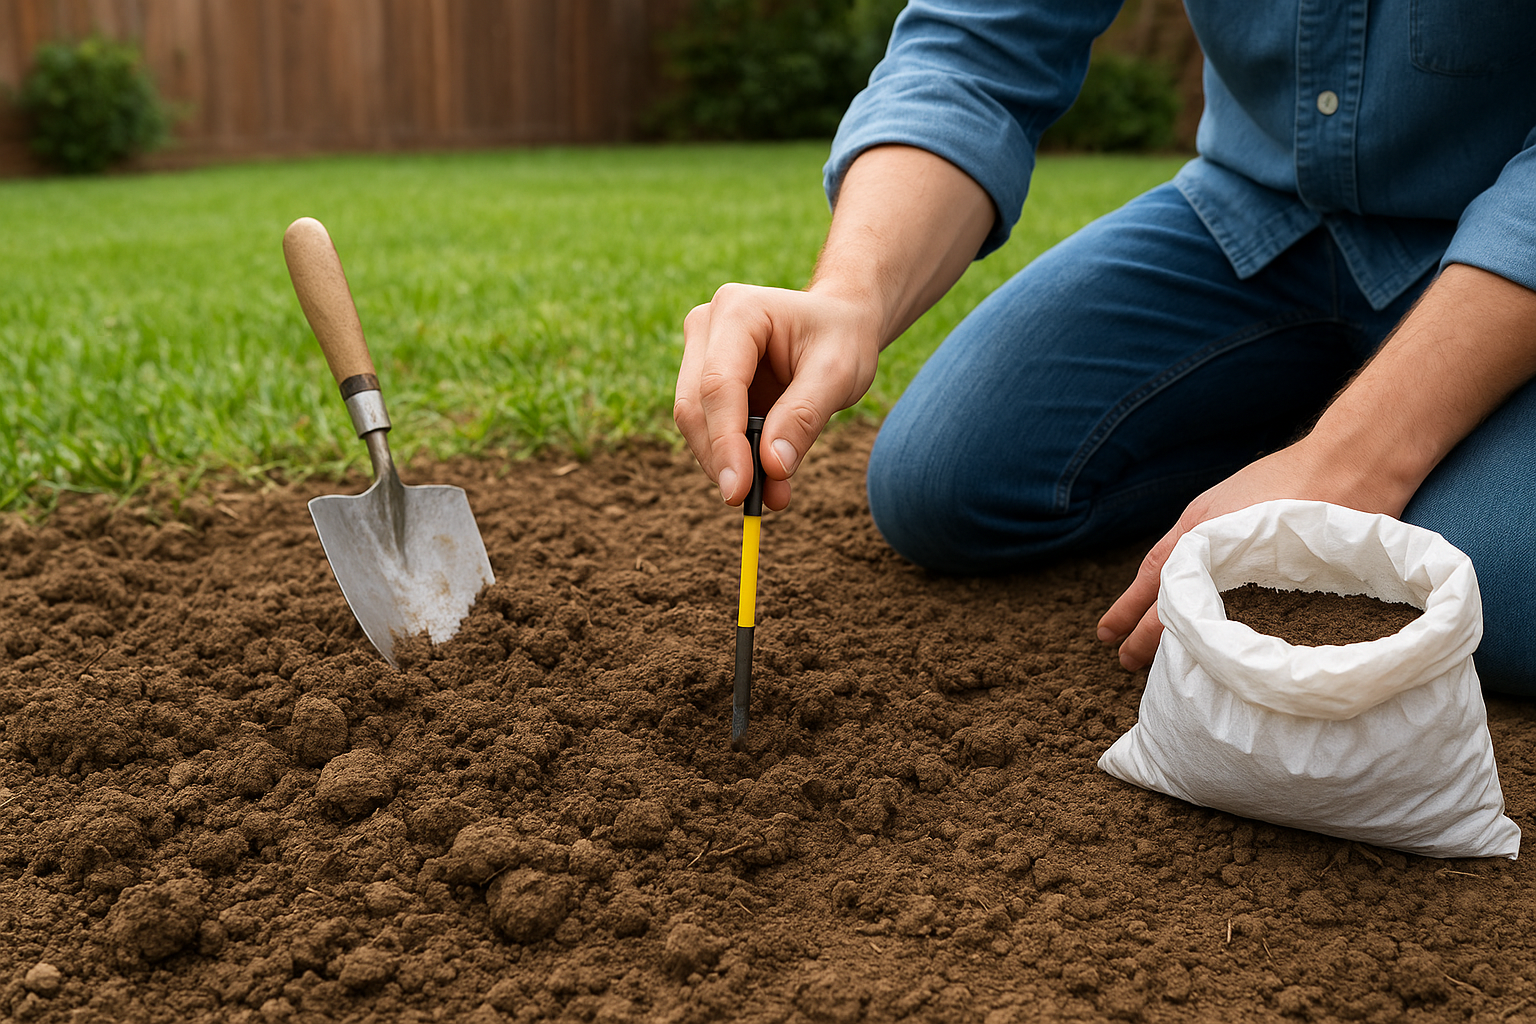
Skipping the soil test is one of the most common reasons homeowners see slow establishment even after a careful installation.
Once you have test results, amend accordingly. For typical Dallas clay, the following prep steps apply in order:
- Apply any pH amendments based on your test results and water them in lightly
- Spread 2 to 3 inches of quality compost across the entire area to improve drainage and soil structure
- Till the compost and amendments into the top 4 to 6 inches of soil using a rented tiller or power rake
- Rake the surface level, removing rocks, debris, and large clumps
Grade, till, and finish the surface
After tilling and amendment, your goal is a firm, level surface with no low spots where water can collect. In a Dallas yard with existing drainage issues, take extra care to slope the grade away from your home’s foundation by at least 1 to 2 percent. Sod laid over uneven ground will root inconsistently, leaving you with soft pockets and dry ridges that become visible once the turf settles.
Finish by lightly rolling the prepared surface with a lawn roller to firm the soil without re-compacting it. You want slight resistance when you press your foot into the ground, not a surface that gives way or feels spongy. The sod should rest flush against the soil with full contact across the entire mat, and that starts with getting the prep surface right.
Step 3. Lay, roll, and secure the sod
With your soil prepped and sod on site, the physical installation needs to move quickly. Sod roots begin to dry out within hours of being cut from the pallet, so you want to go from delivery to fully laid turf in a single day. Understanding what is sod installation at this stage means treating each piece like a perishable, not just a construction material.
Start at a straight edge and work outward
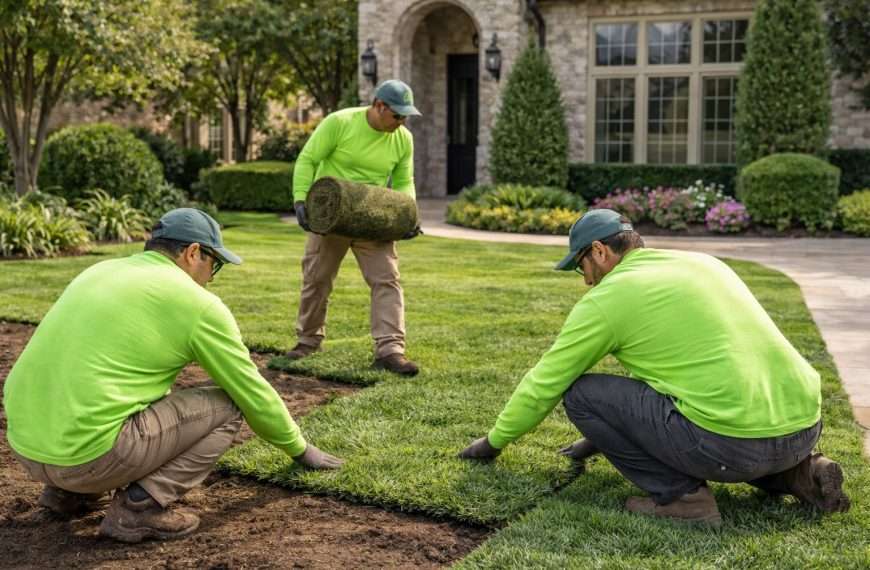
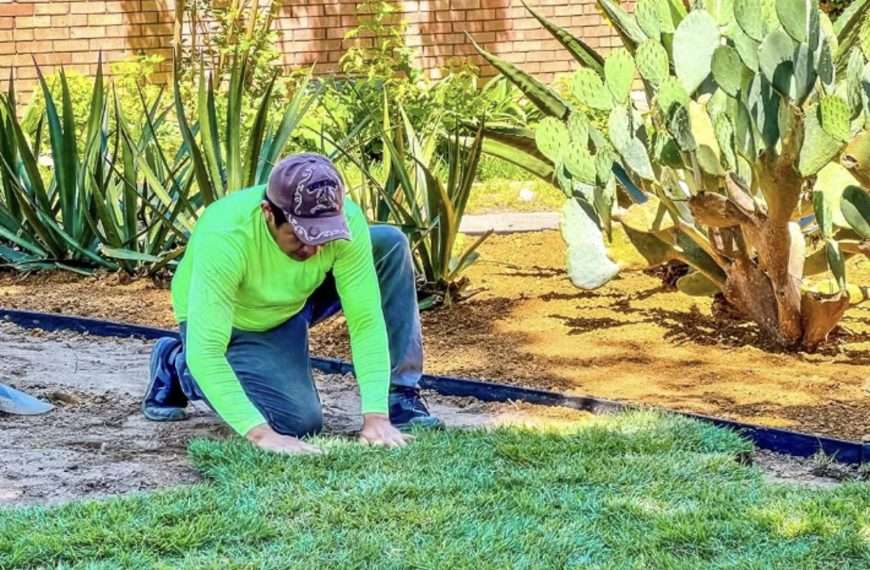
Begin laying sod along the longest straight edge on your property, typically a driveway, sidewalk, or fence line. Unroll each piece end to end, pressing it firmly against the soil so there are no air gaps underneath. Stagger the seams between rows the same way you’d lay brick, offsetting each row by roughly half a piece so the joints don’t line up. Aligned seams create visible lines and weak points where the turf can dry out or separate.
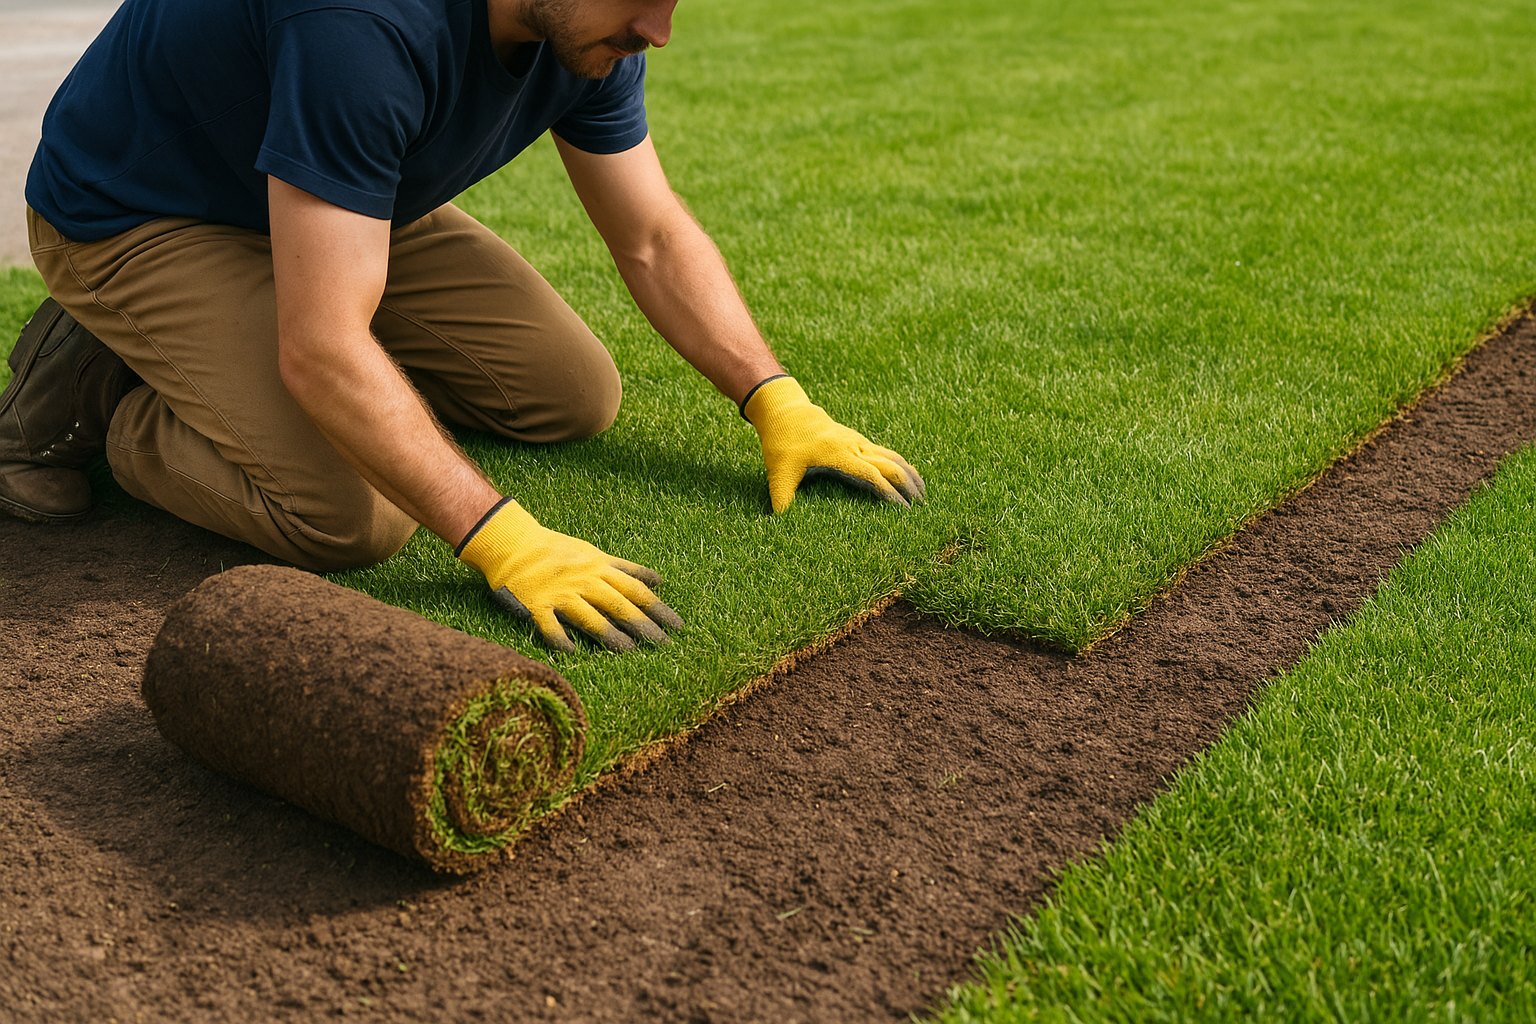
Work across the yard in rows, placing each piece tightly against the next without overlapping. On slopes, lay the sod perpendicular to the incline and secure individual pieces with biodegradable stakes to prevent shifting before roots anchor. Around beds, trees, and walkways, use a sharp utility knife or sod cutter to trim pieces cleanly. Ragged edges don’t root as well and leave gaps where weeds establish quickly.
Gaps between pieces are the most common installation mistake. Even a half-inch of exposed soil between seams can dry out and prevent roots from knitting together across the joint.
Roll the sod to ensure full contact
Once all pieces are laid, run a water-filled lawn roller across the entire surface. This step presses the sod root mat into firm contact with the soil beneath it, removing air pockets that cause dry spots and uneven rooting. Roll in two passes at perpendicular angles to ensure even contact across the full surface.
After rolling, walk the lawn and press firmly with your foot at several points. The sod should feel firm and connected, not spongy or loose. Any sections that lift or shift need additional rolling or hand-pressing before you move on to watering.
Step 4. Watering, mowing, and first 30 days
The first 30 days after laying sod determine whether your new lawn establishes fully or struggles into Dallas summer. Consistent watering and proper mowing timing in the weeks that follow are what actually convert freshly laid turf into a rooted lawn. Understanding what is sod installation as a complete process means recognizing that cutting corners during this window can set back establishment by weeks or cause individual sections of sod to fail entirely.
Watering schedule during establishment
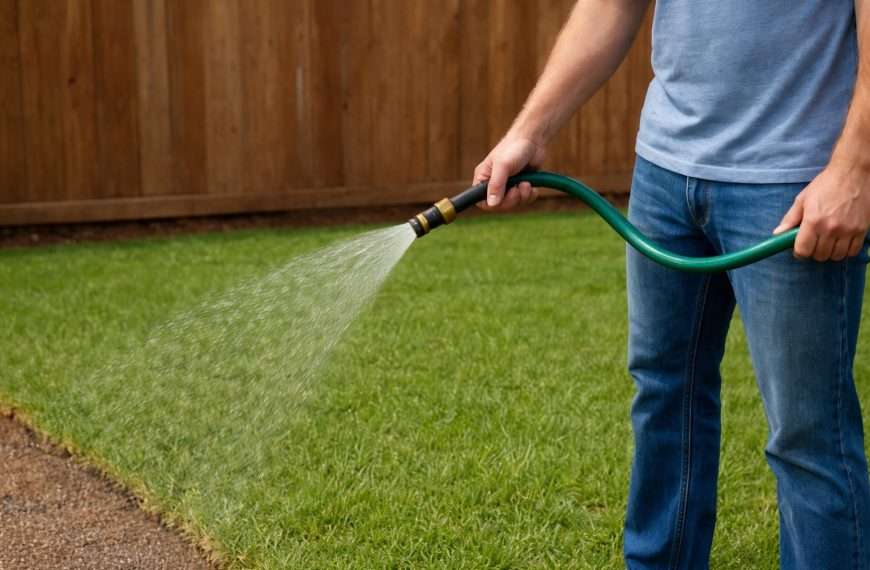
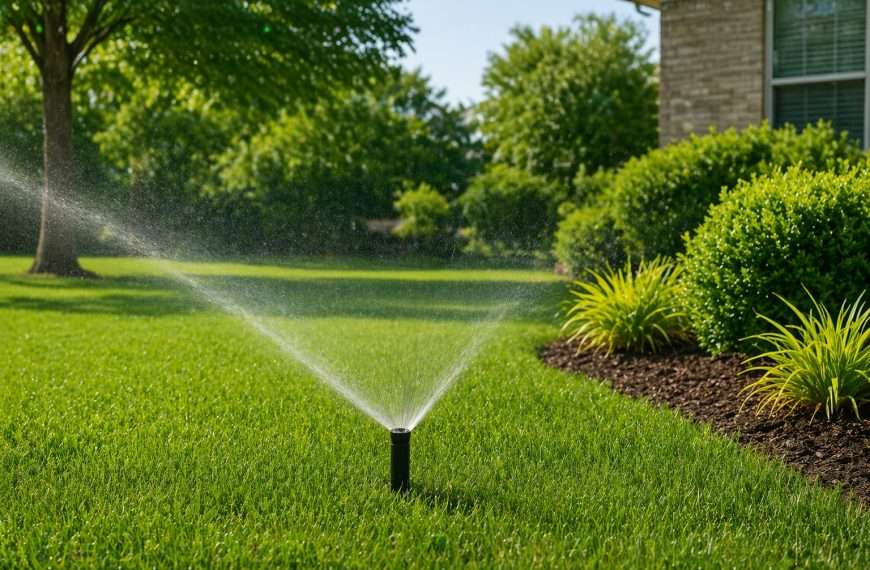
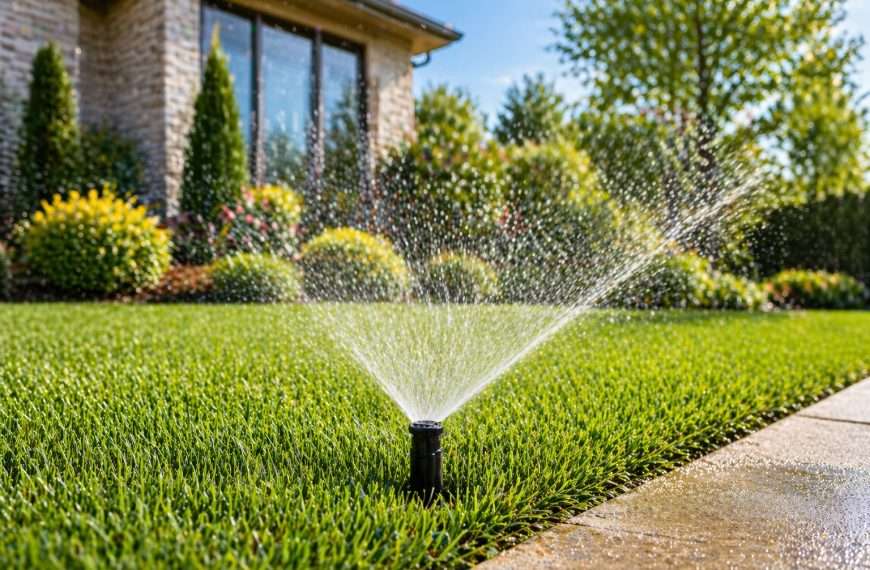
Your watering schedule needs to shift through three phases as roots anchor. In the first three to five days, keep the sod and the top two inches of soil consistently moist, watering two to three times per day in summer heat or once to twice daily in cooler spring conditions. From day six through day 14, reduce to once daily, watering deeply enough to encourage root tips to penetrate below the mat. After the two-week mark, transition to two to three times per week, adjusting for rainfall.
Lift a corner of the sod on day four or five. If you see white root tips beginning to reach into the soil, your schedule is working.
| Days | Frequency | Goal |
|---|---|---|
| 1 to 5 | 2 to 3 times daily | Keep sod and top 2 inches moist |
| 6 to 14 | Once daily | Encourage roots to reach soil below mat |
| 15 to 30 | 2 to 3 times per week | Build drought tolerance gradually |
When to mow new sod
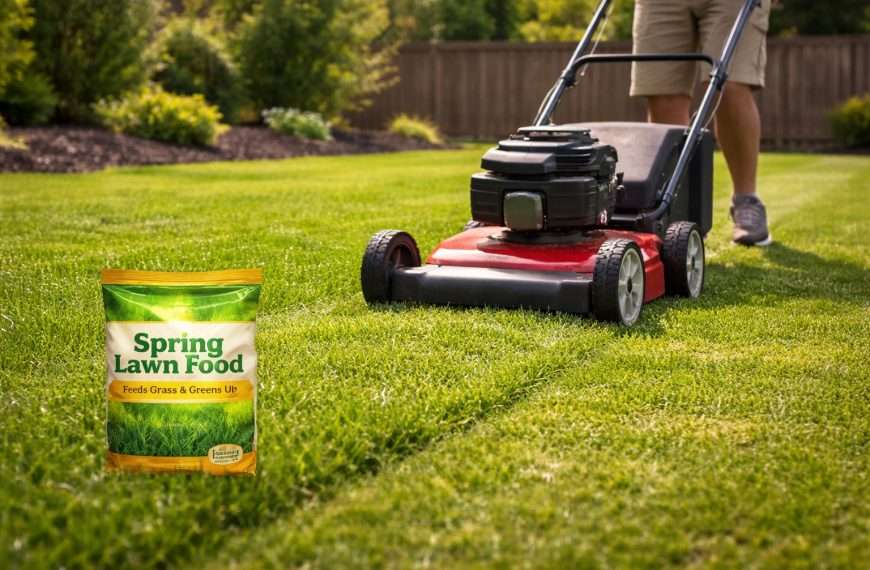
Most homeowners mow too early, which pulls the sod loose before roots have fully anchored. Wait until the turf reaches one-third above your target mowing height before cutting, which typically happens between day 14 and day 21 for Bermuda and Zoysia in active growing conditions. Before starting the mower, tug firmly on several sections of sod across different parts of the yard; if it resists without lifting, the roots have taken hold. Set your mower at the highest appropriate blade setting for your grass type and avoid bagging clippings on the first two cuts, as they return moisture to the surface during this sensitive period.
Use this checklist before your first mow:
- Tug test passed: Sod resists pulling in multiple locations across the yard
- Height check: Bermuda at 2 to 2.5 inches before cutting; Zoysia at 3 inches
- Blade setting: Highest appropriate height for your specific grass type
- One-third rule: Never remove more than one-third of blade height in a single pass
Next steps
Sod installation in Dallas is a process where every decision compounds: grass selection, soil prep, installation timing, and the first 30 days of watering each influence the final outcome. If any stage is rushed or poorly timed, the lawn pays for it weeks later in dry patches, slow rooting, or uneven establishment. Understanding what is sod installation as a complete system, not just laying grass on dirt, is what separates a lawn that takes hold from one that needs to be redone.
If your property is ready for new turf or you’re still deciding whether sod, seed, or plugs makes more sense for your conditions, the next step is getting a clear picture of your specific site. Soil type, shade patterns, and timing all affect what approach works best. For hands-on guidance tailored to your yard, request a consultation and we can walk through the right plan for your property.